Description
The purchase of this product, which is subject to copyright, is strictly personal and it is tied to the single user and so, to a single account. Sharing with third parties is strictly forbidden, as well as illegal reproduction and/or group buying. In case of copyright infringement Matteo Bertetto, or of violations of current legislation, fraudulent actions against himself, the account will be suspended, measures will be taken to protect author’s rights through legal actions.
“”The buyer is informed that with the completion of the purchase and payment of the price, by virtue of express agreement between buyer and Professional, the buyer waives the right to exercise the right of withdrawal regarding the purchase of “MB Panel V8″, as at the time of download the contract will be considered already executed, or completed the performance by the seller/ trader, which allows the product to be downloaded on the consumer’s information medium, and the product is mixed with the content of the computer medium and easily duplicable to the detriment of the seller”.

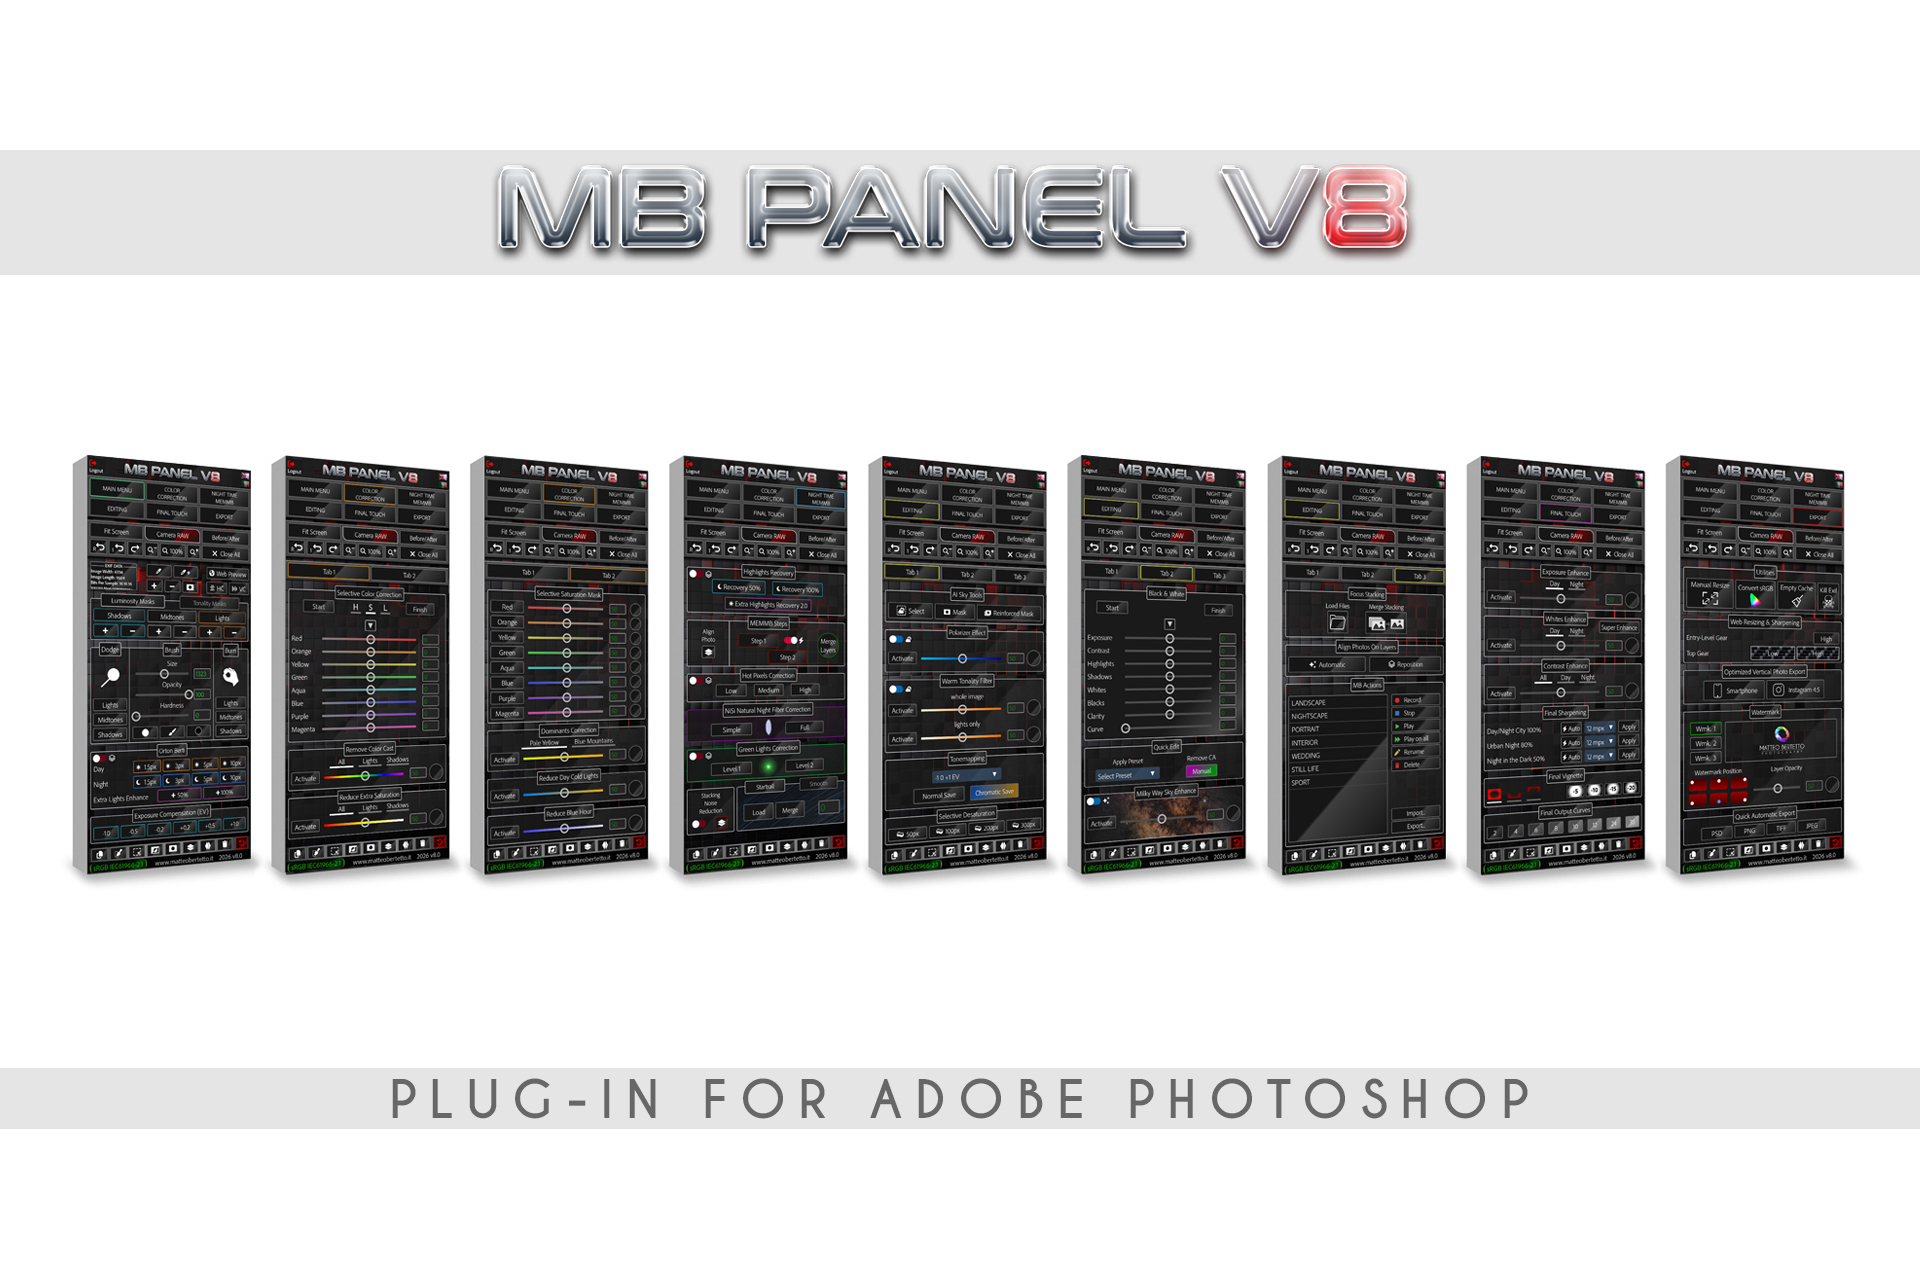
MB PANEL V8 WAS BORN IN 2026
It is a plug-in made in UXP for Adobe Photoshop CC, which helps in post-production by performing various tasks and saving the user considerable time. Born for Landscape Photography but can also be used for other kinds such as macro, portrait, still life, reportage and street. It is a real panel that you can install with a click and, unlike a script, it always remains open and fixed inside the windows of Adobe Photoshop.
This version is natively compatible with Mac M1-2-3-4-5
Floating window within Photoshop
Serial key to activate the panel on 2 computers
Quick editing and easy to use
7 video tutorials (about 3.5 hours of videos)
Compatible with Photoshop 22.0 or above
Complete instructions in PDF format
A BRAND NEW 3D INTERFACE
EVER MORE REFINED AND COMPLEX
FOR THE VERY FIRST TIME IN BILINGUAL, ITALIAN AND ENGLISH
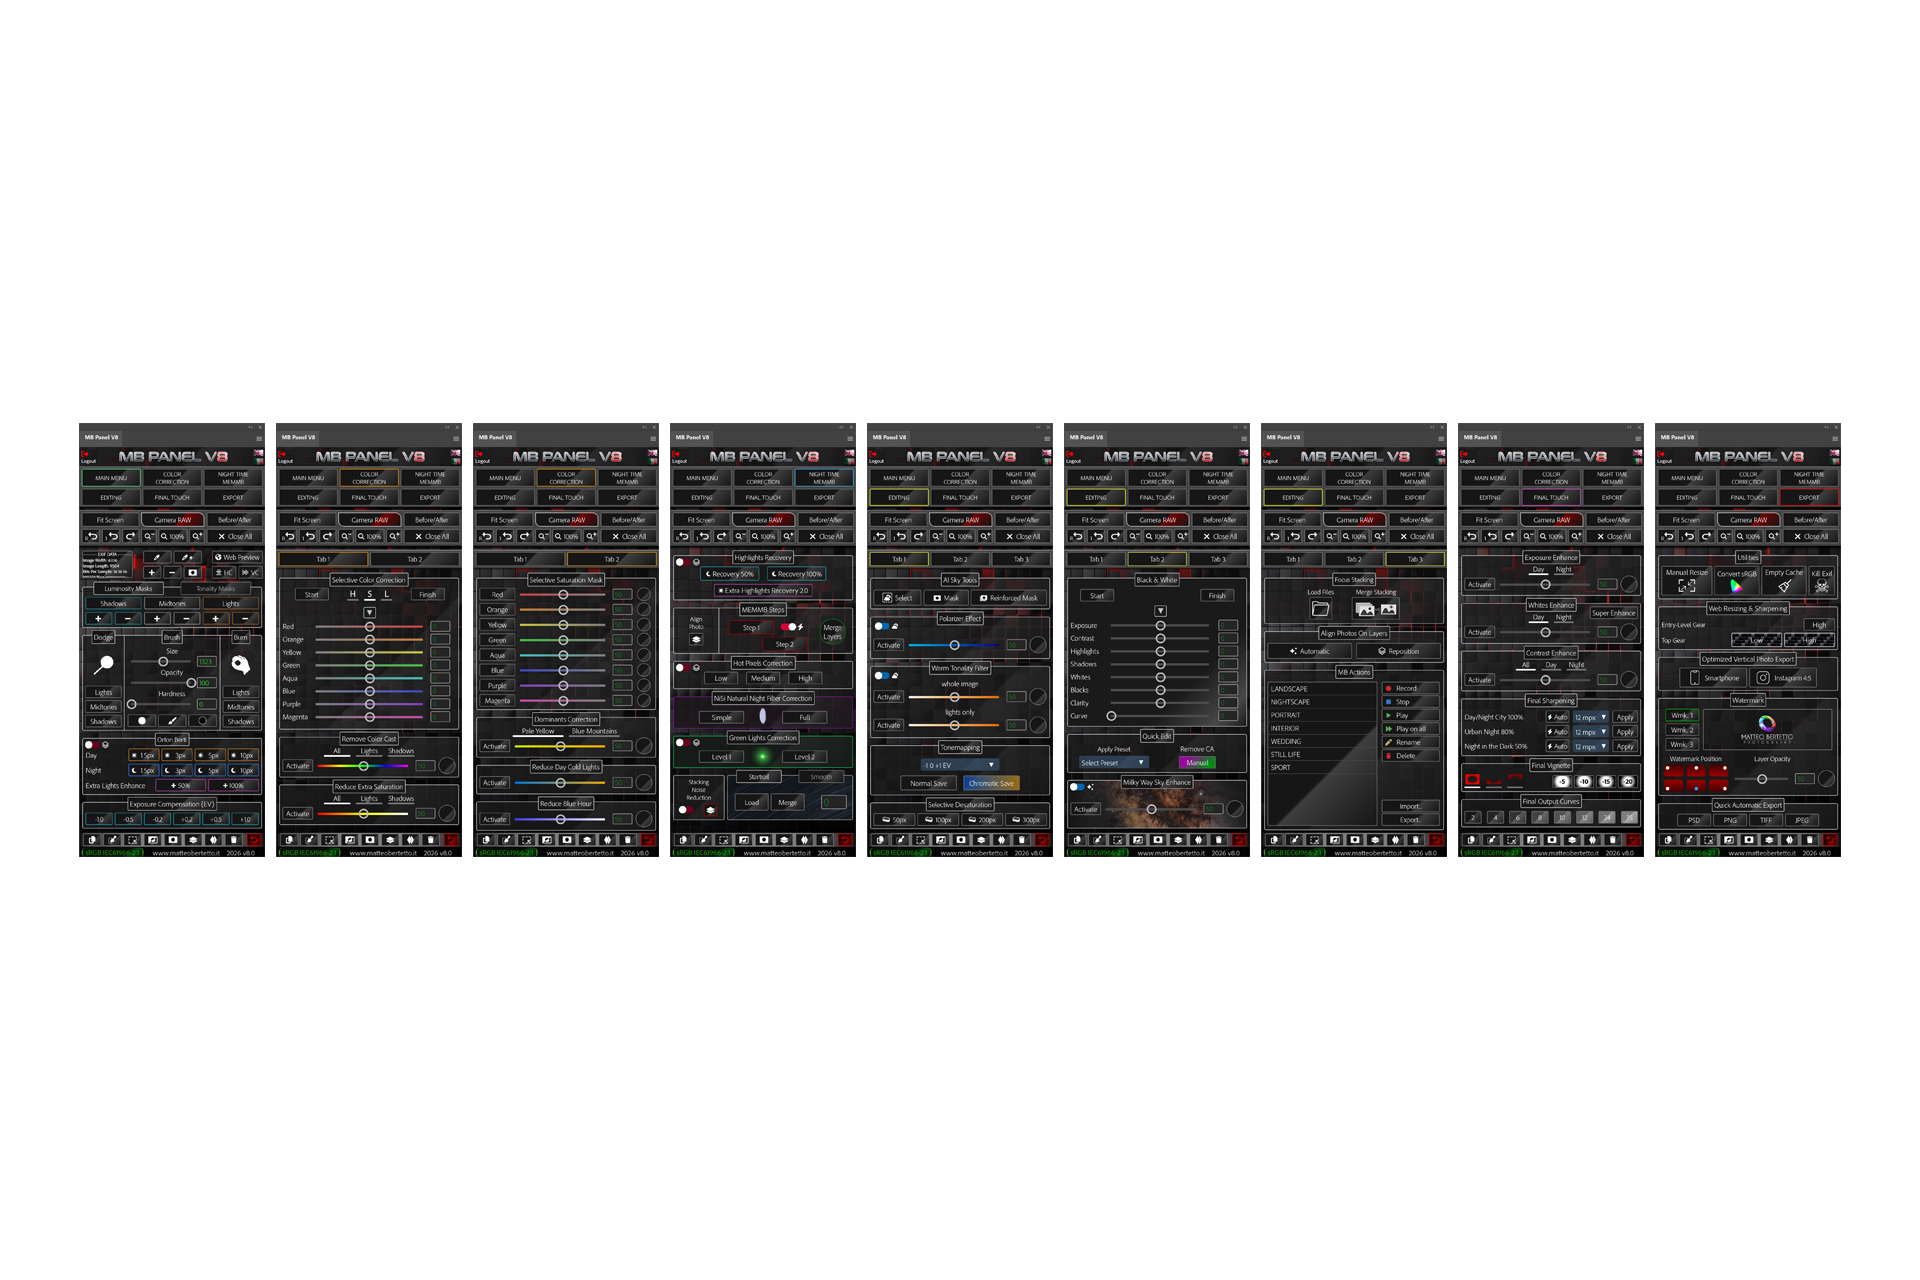
MAIN TABS ARE:
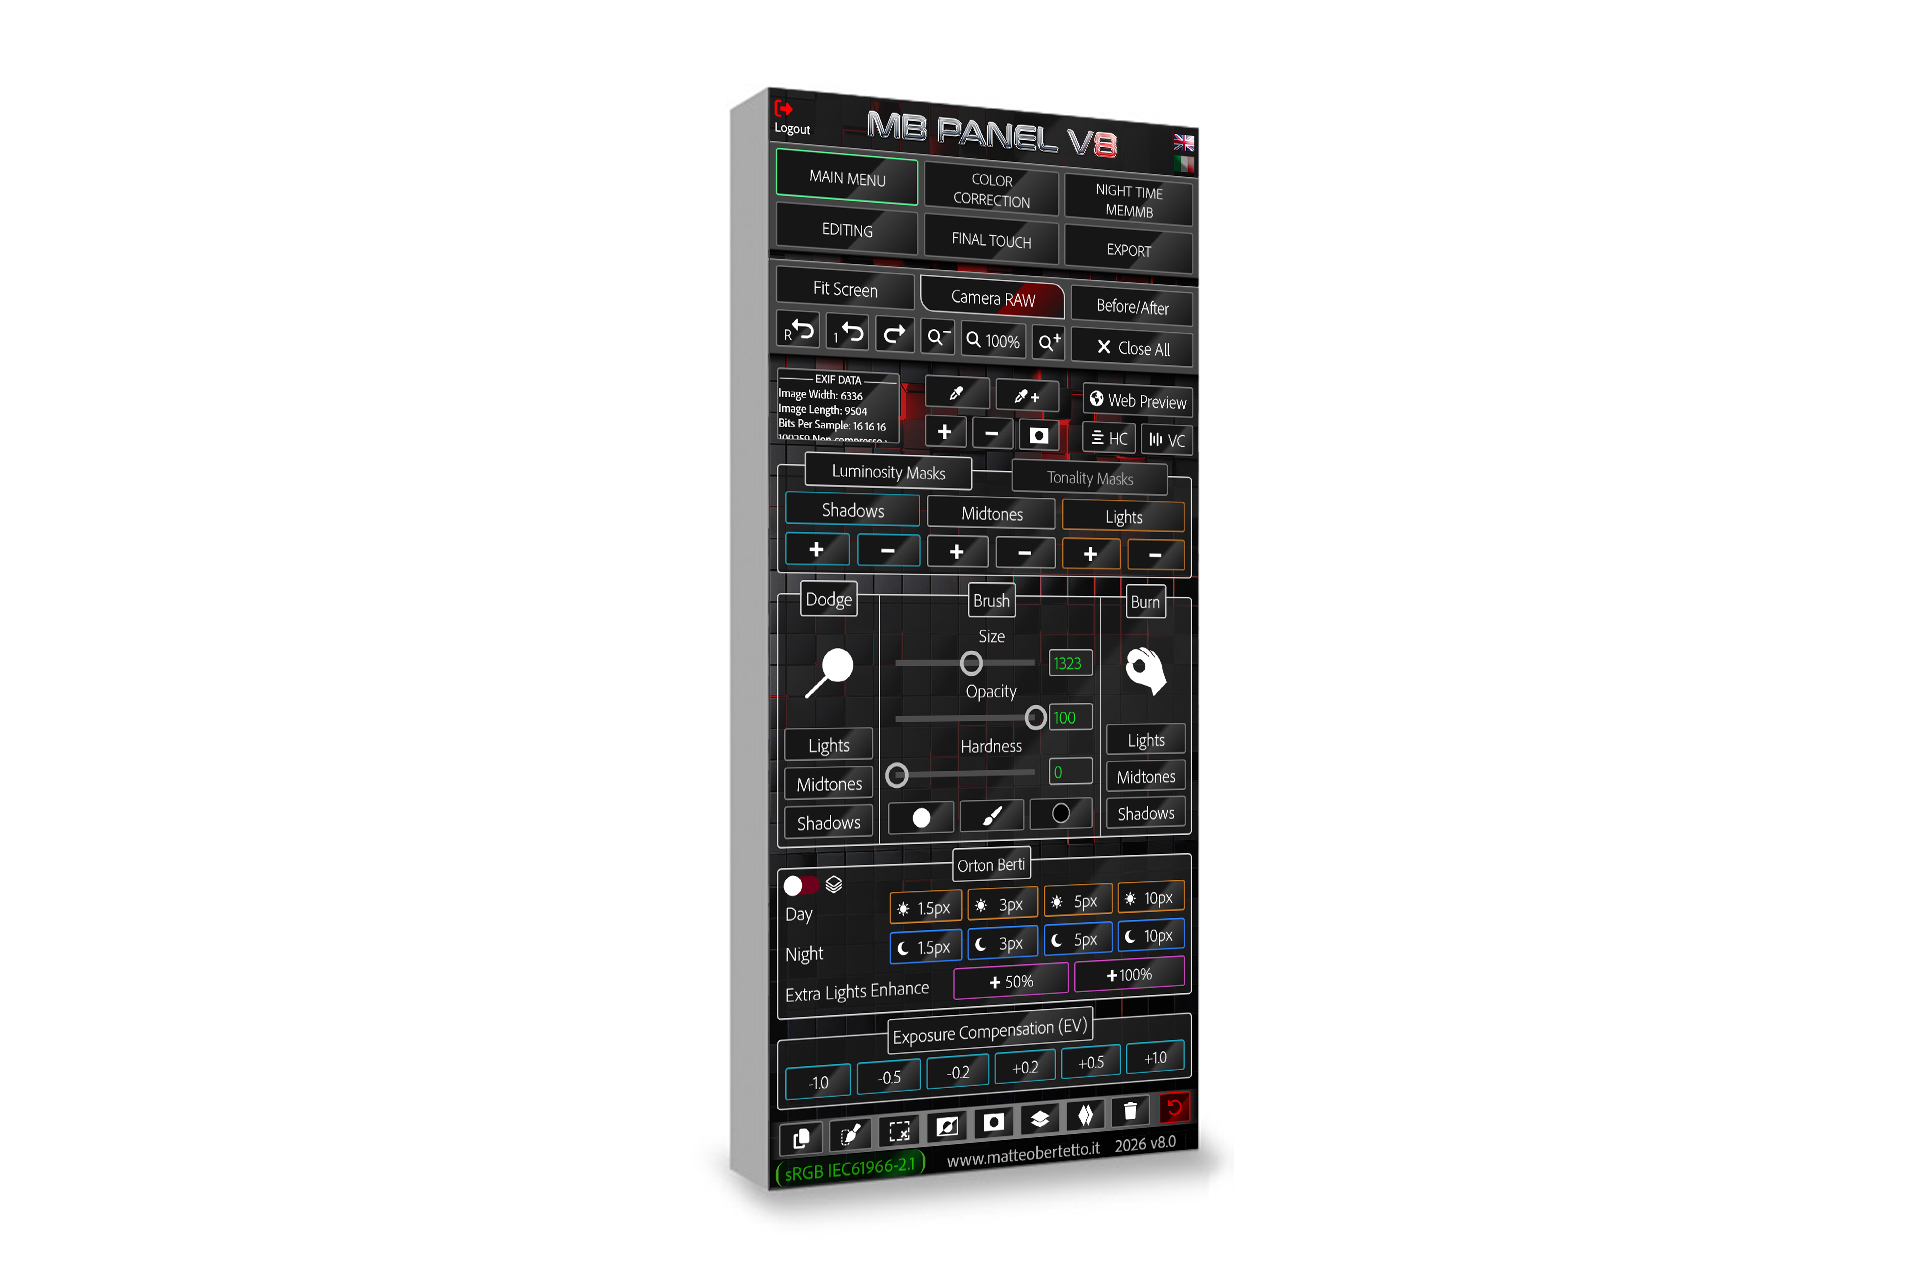
- MAIN MENU
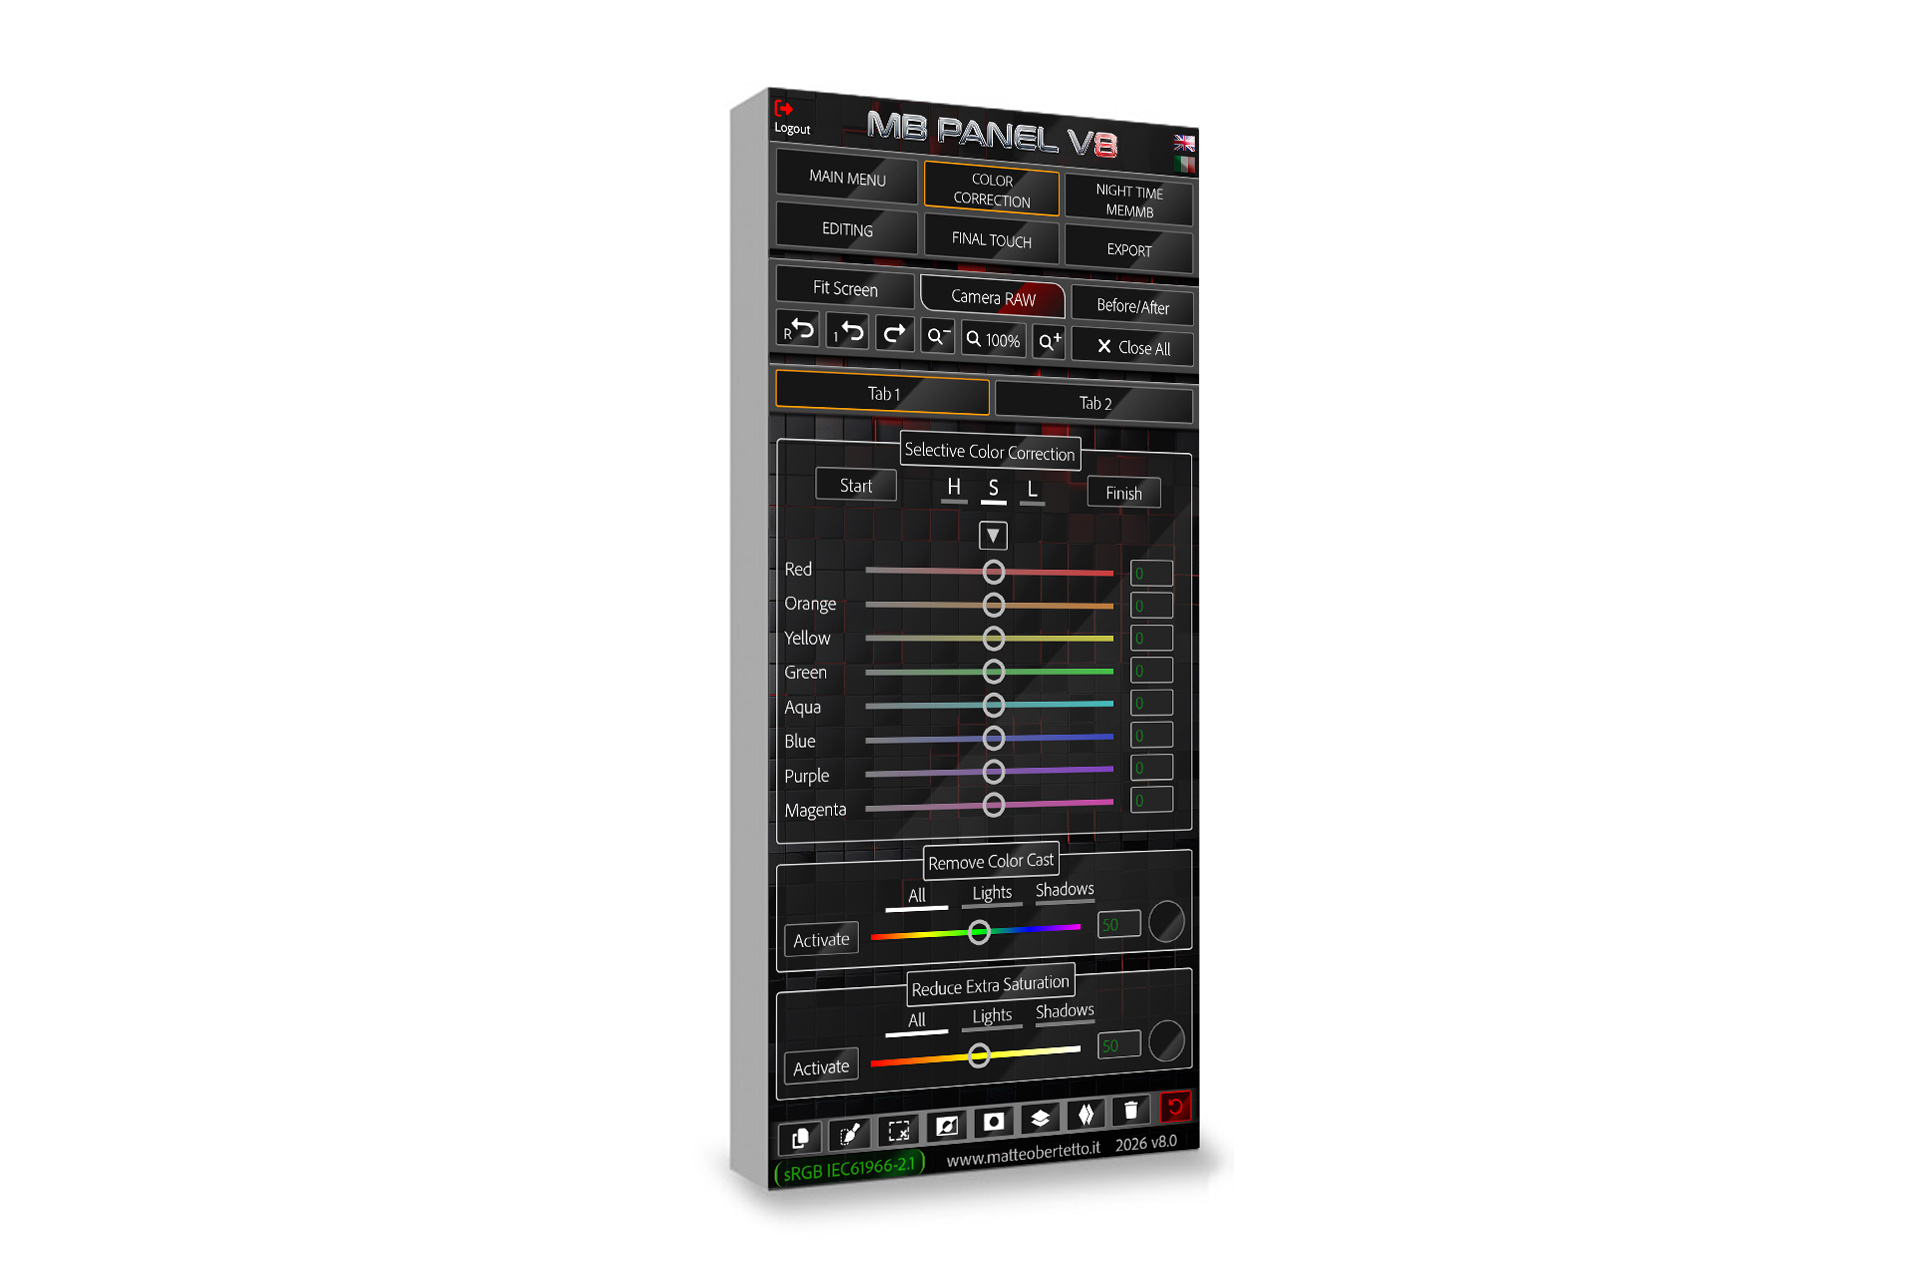
- COLOR CORRECTION
- NIGHT MEMMB
- EDITING
- FINAL TOUCH
- EXPORT
- SOME UTILITIES
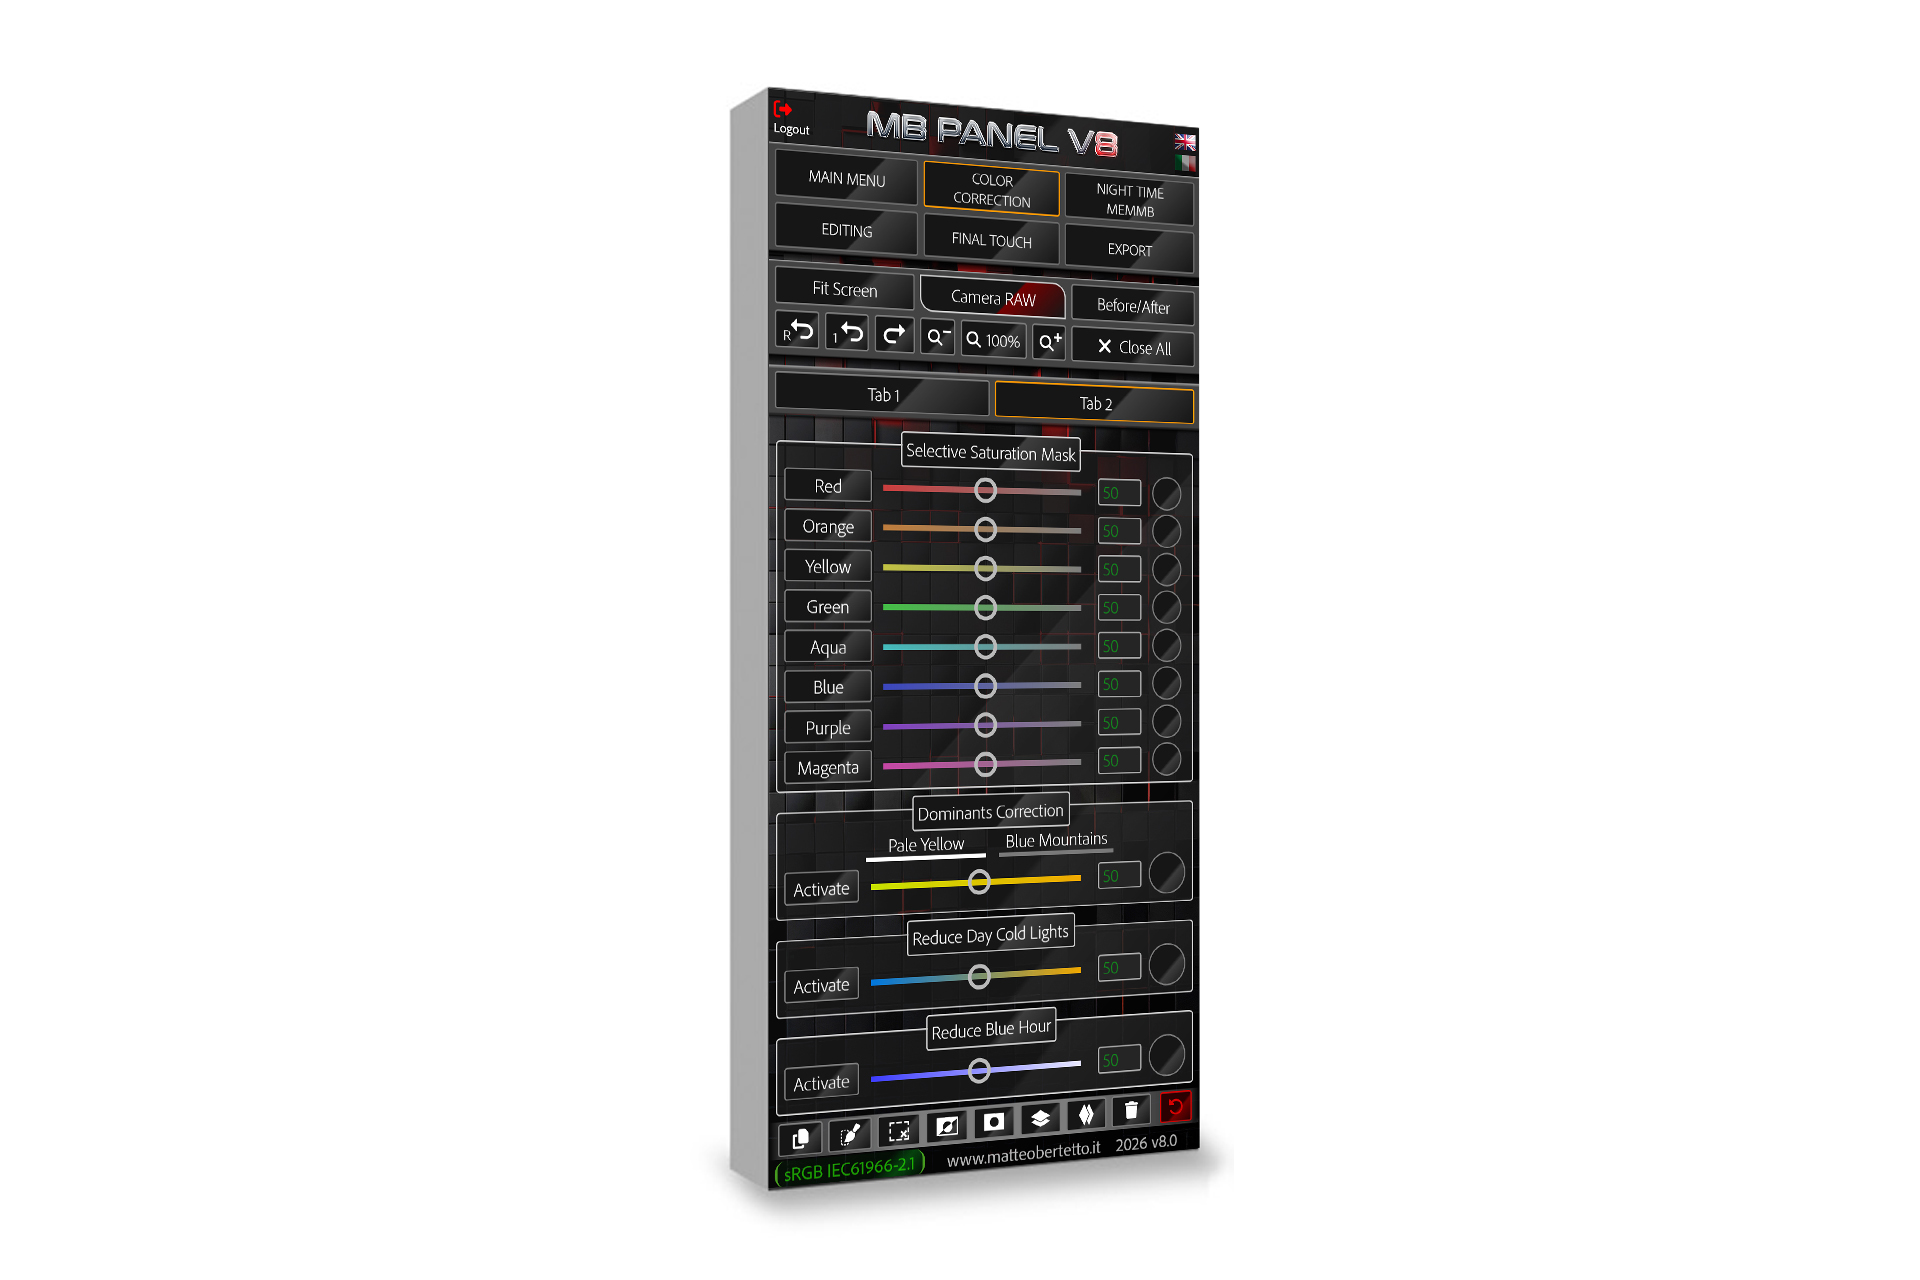
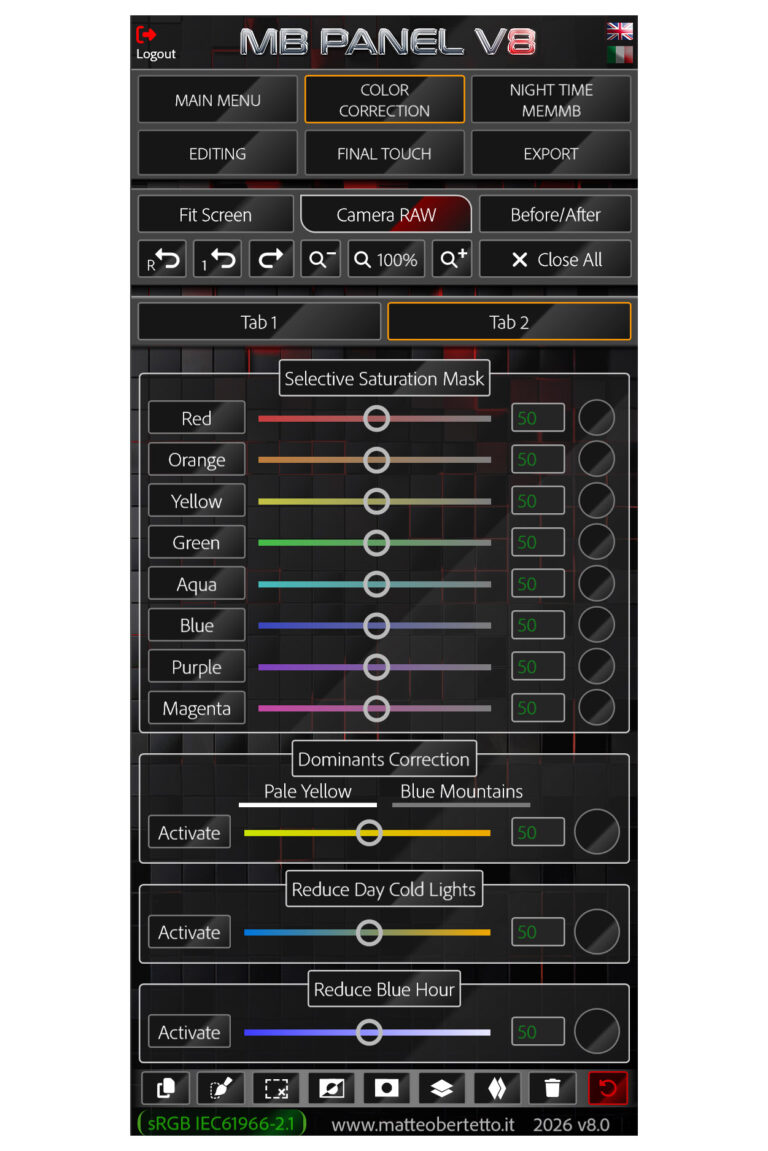
SELECTIVE SATURATION MASK
FOR EACH SINGLE COLOR, YOU CAN GO WORKING ON THAT CHANNEL AND AUTOMATICALLY THE MOST SATURATED AREAS WILL BE SELECTED THROUGH THE SATURATION MASKS, THEN WE CAN DECIDE HOW MUCH TO INTERVENE.
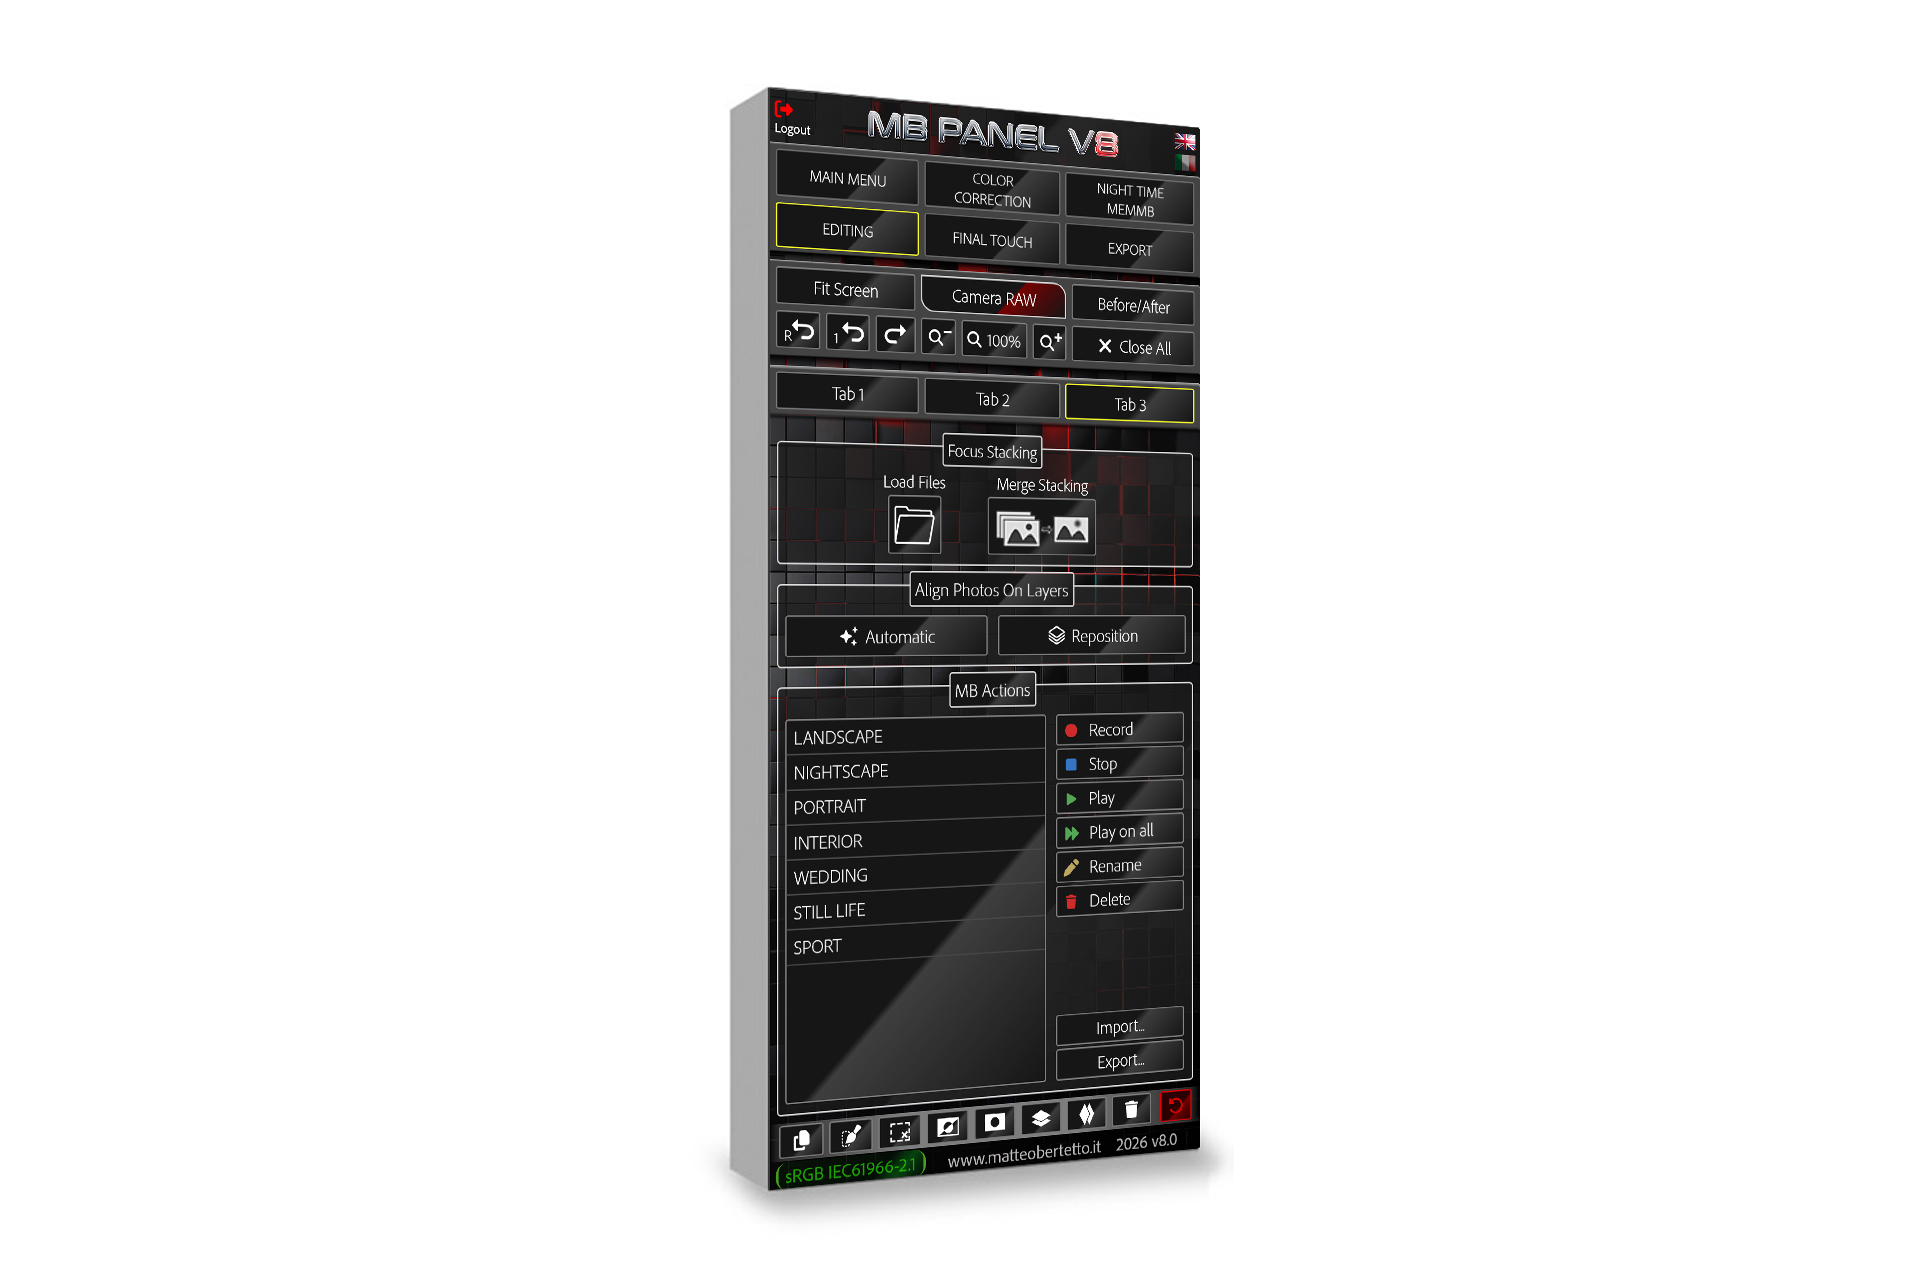
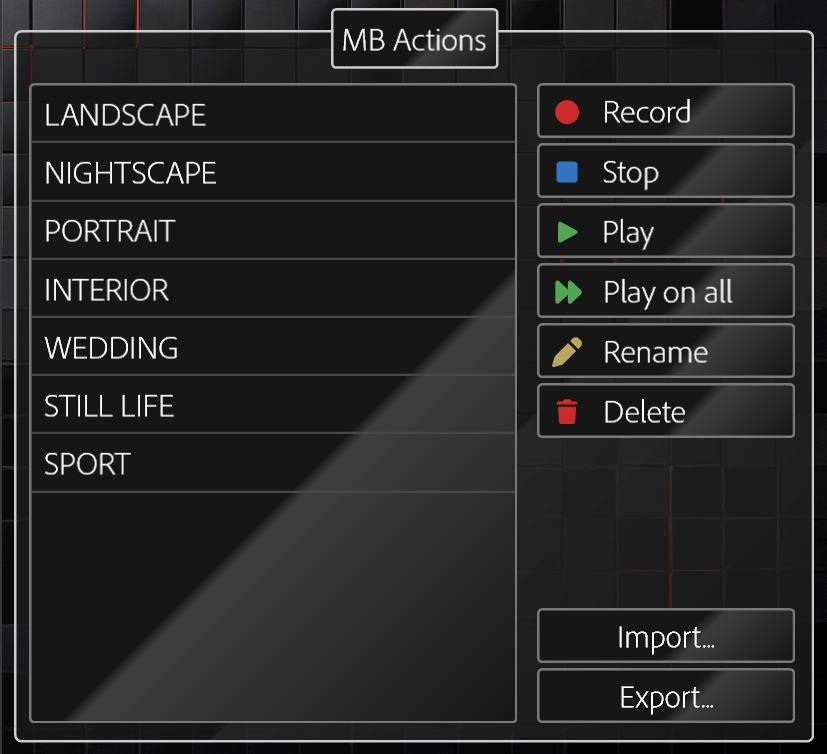
MB ACTIONS: AN EPOCHAL CHANGE

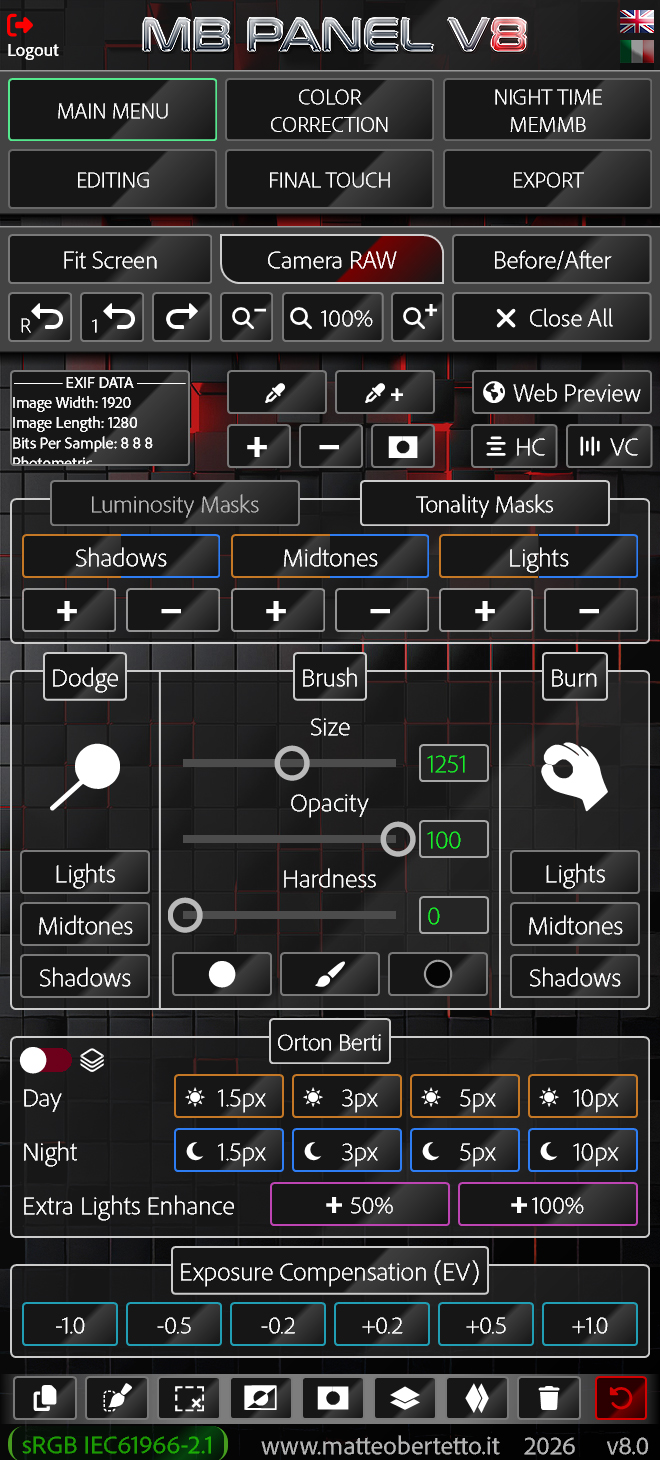
MANY NEW FUNCTIONS
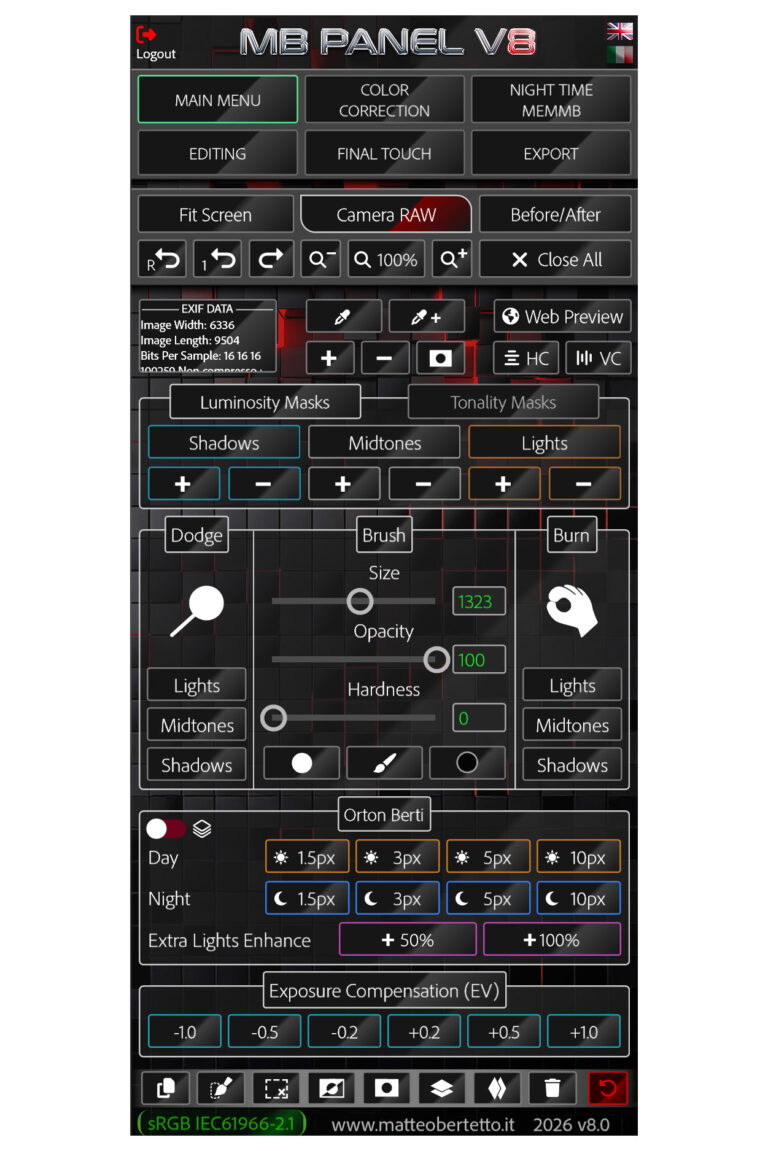

- Zoom 100% / Fit screen
- Before / After
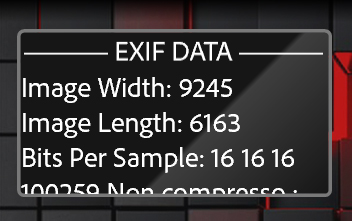
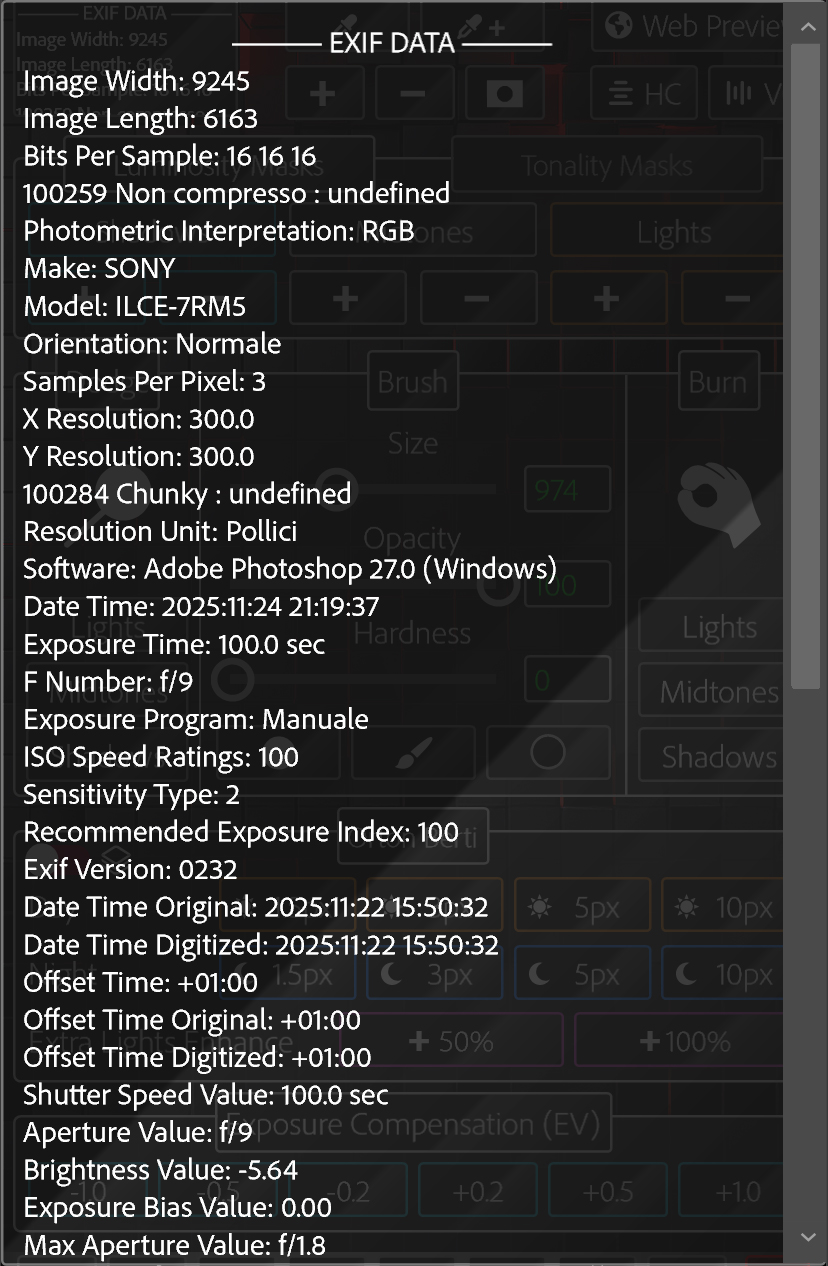
- Display with Exif Data
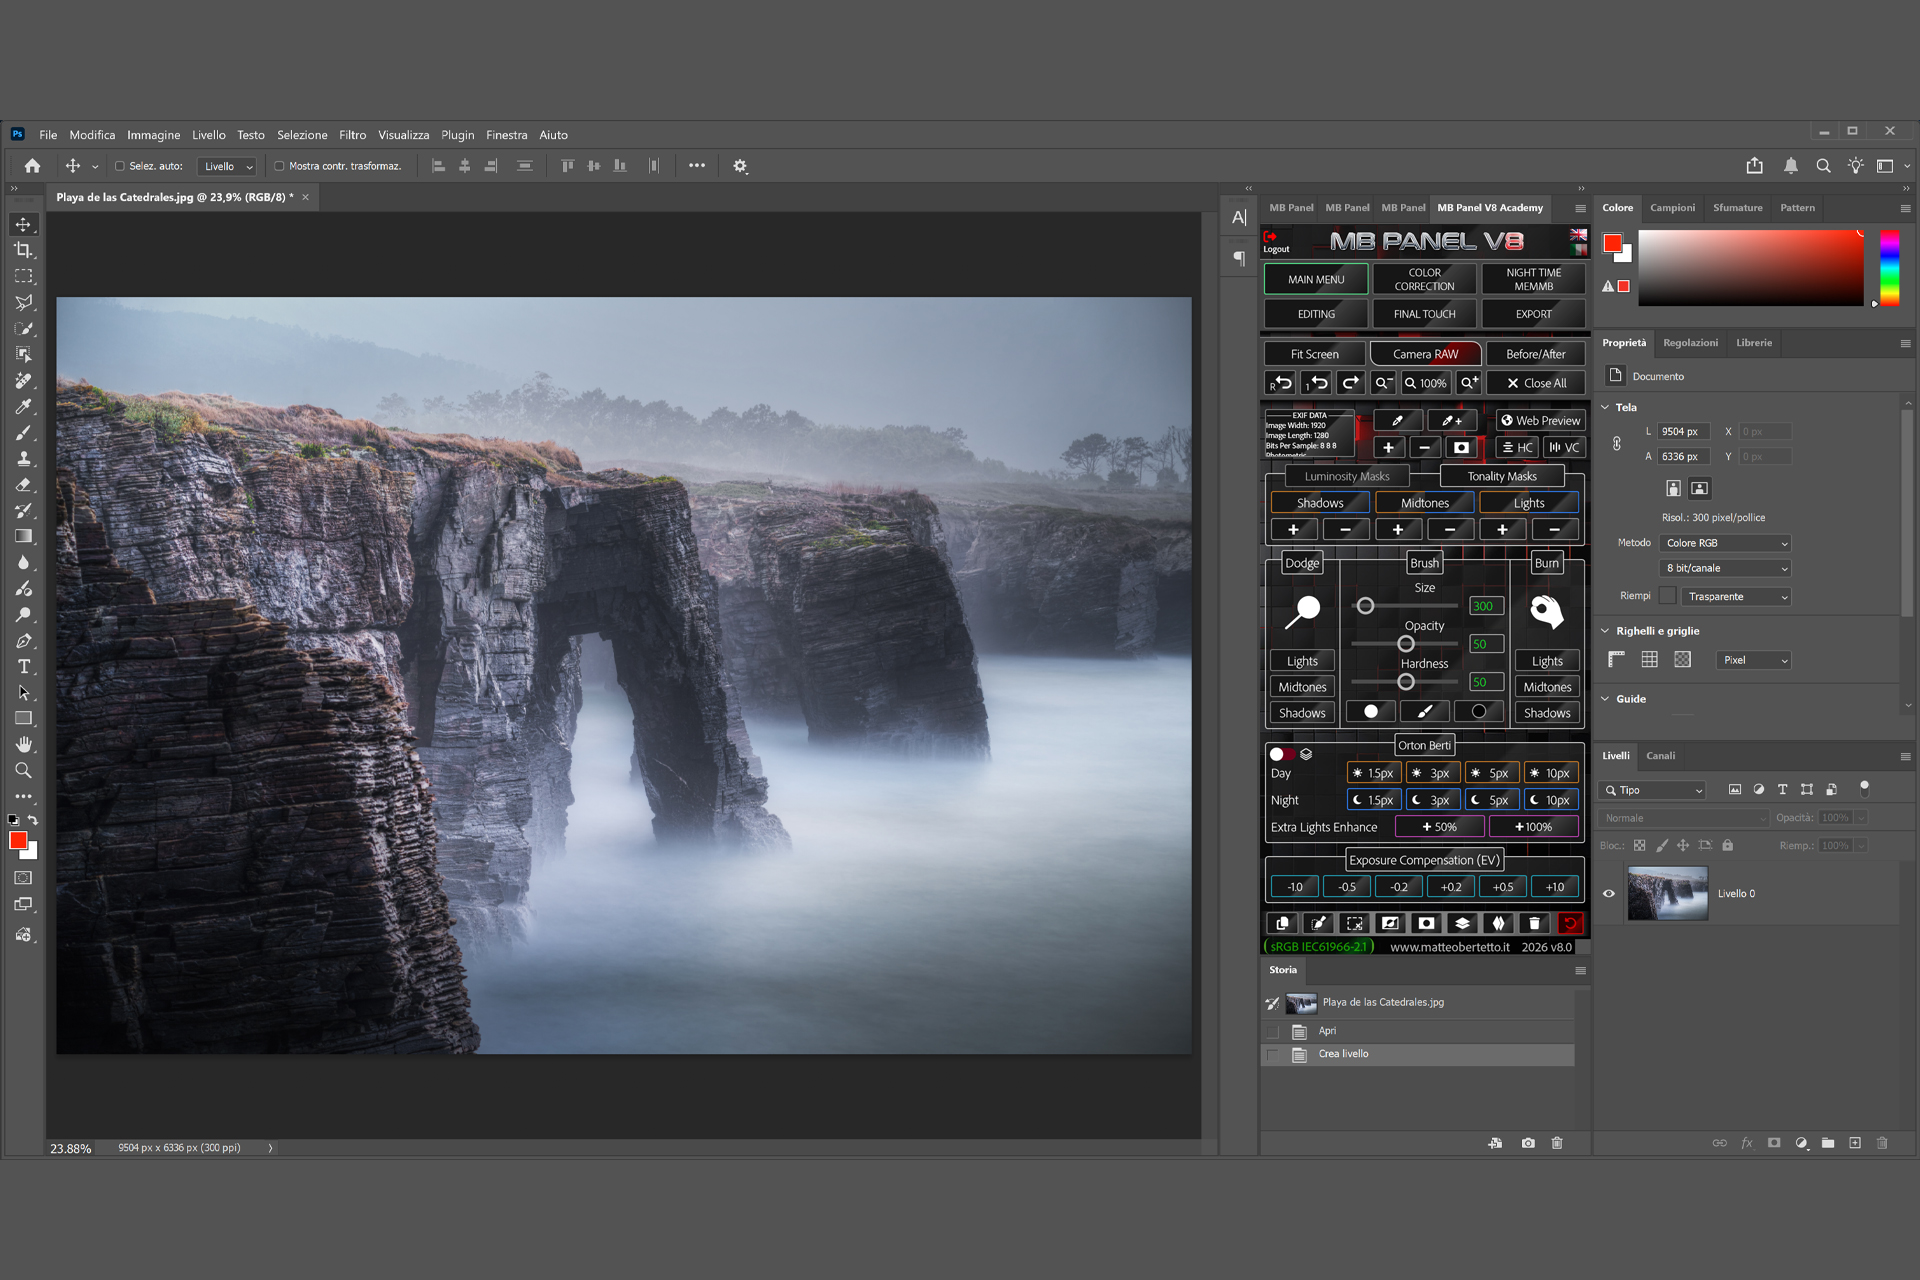
- Luminosity Masks
- Tonality Masks
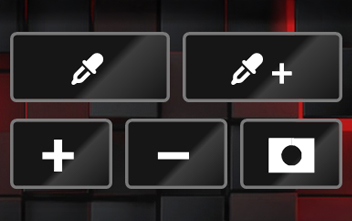
- Pipette Color Range
- Web Preview
- Dodge & Burn
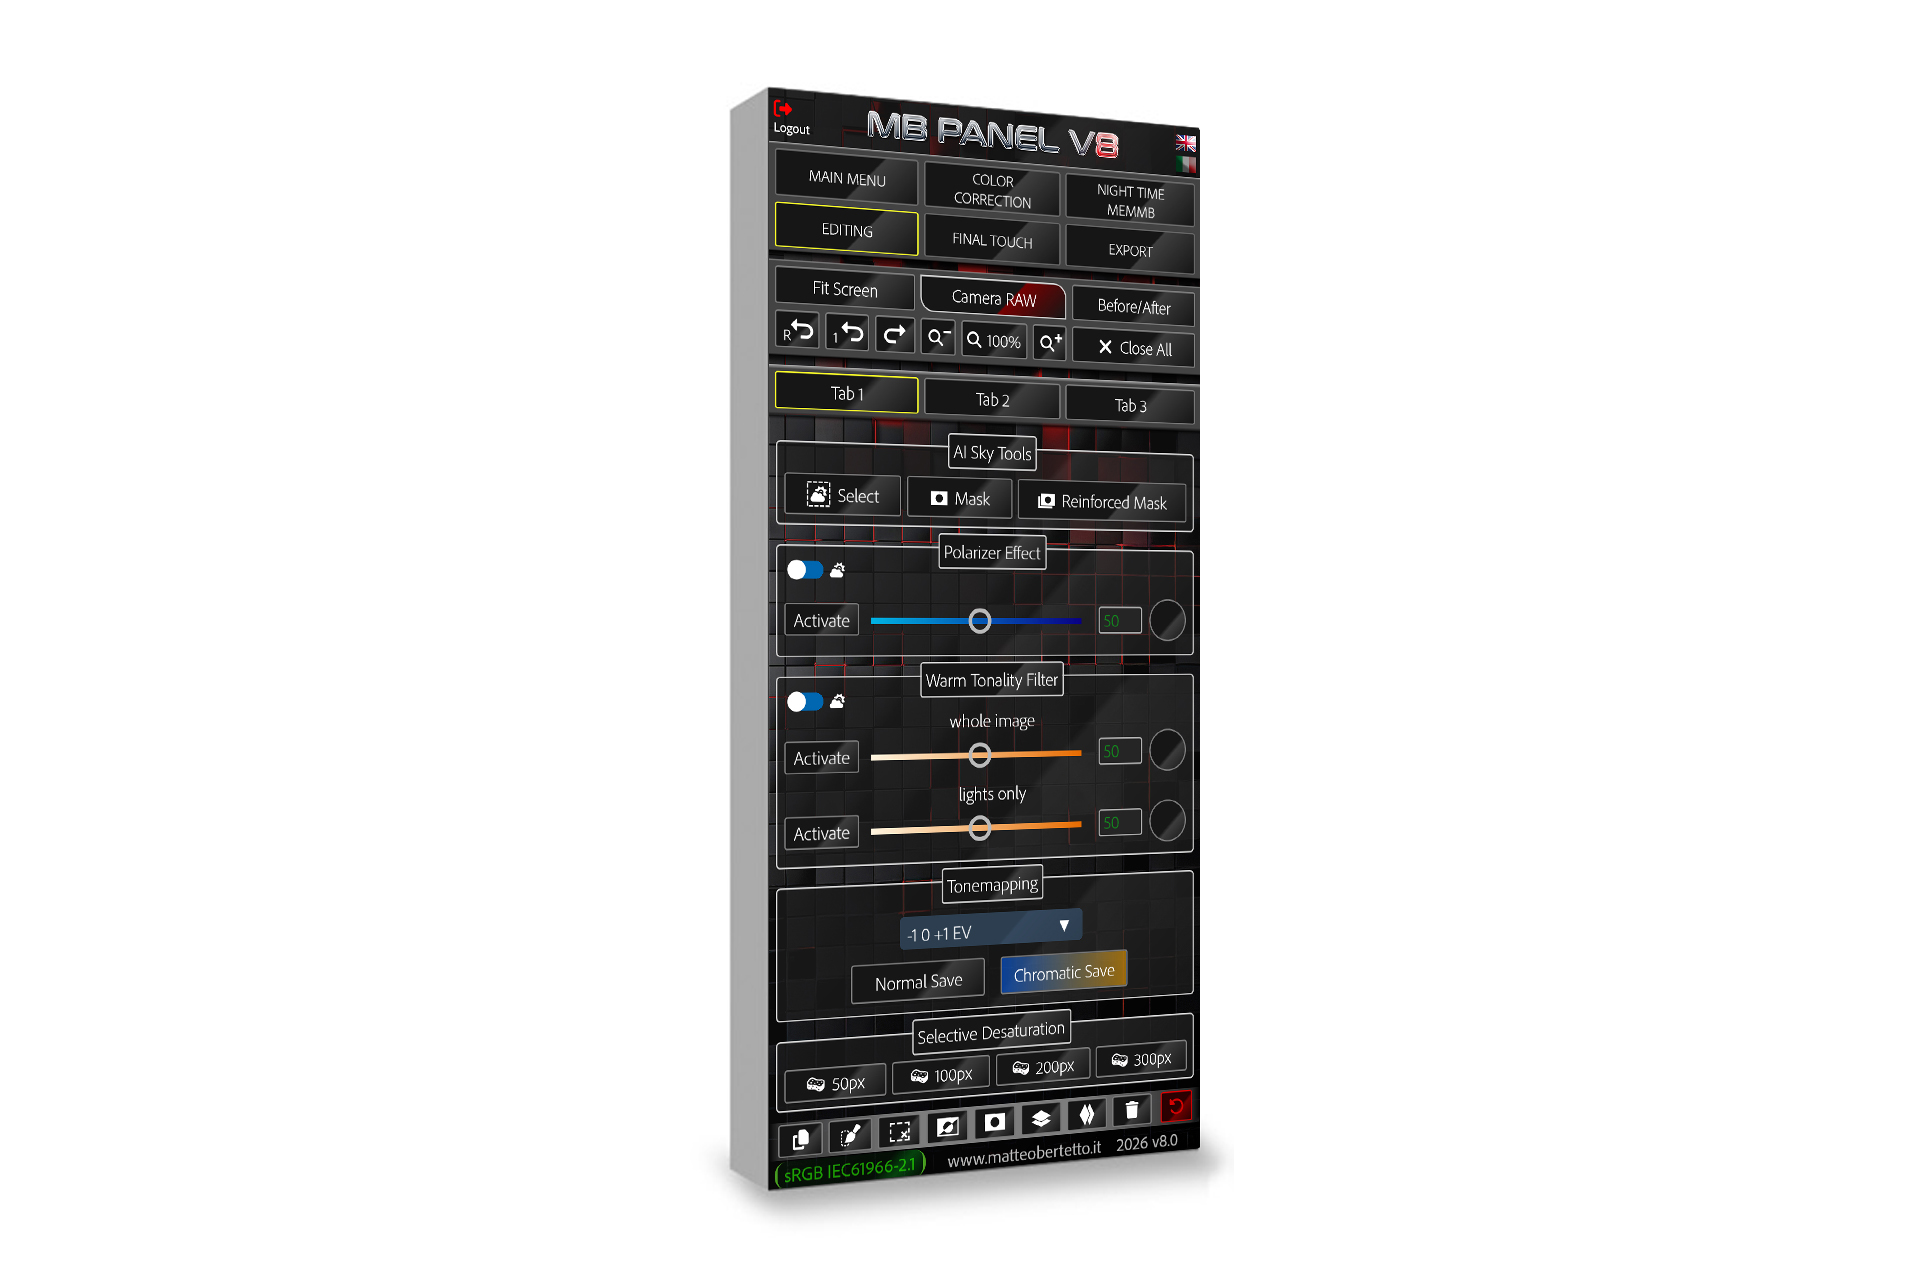
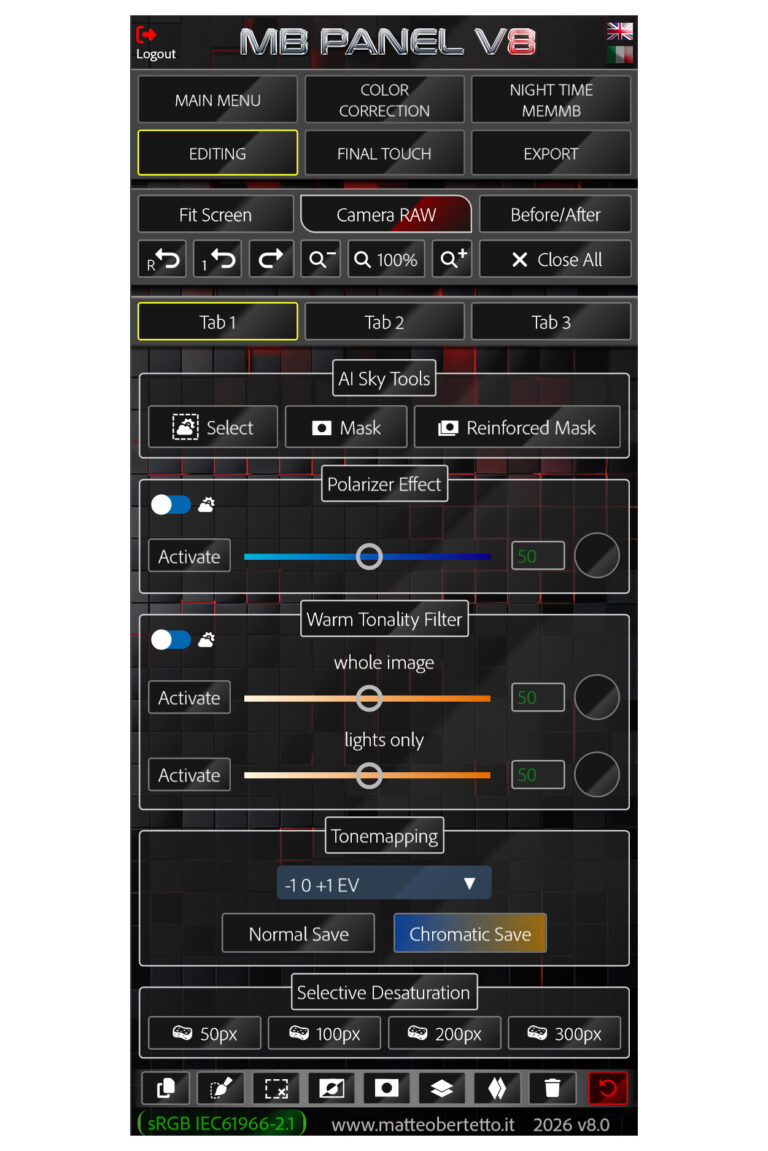
- AI Sky Tools
- Orton Effect and Extra Lights Enhance
- Tonemapping
- Chromatic Tonemapping
- Exposure Compensation (EV)
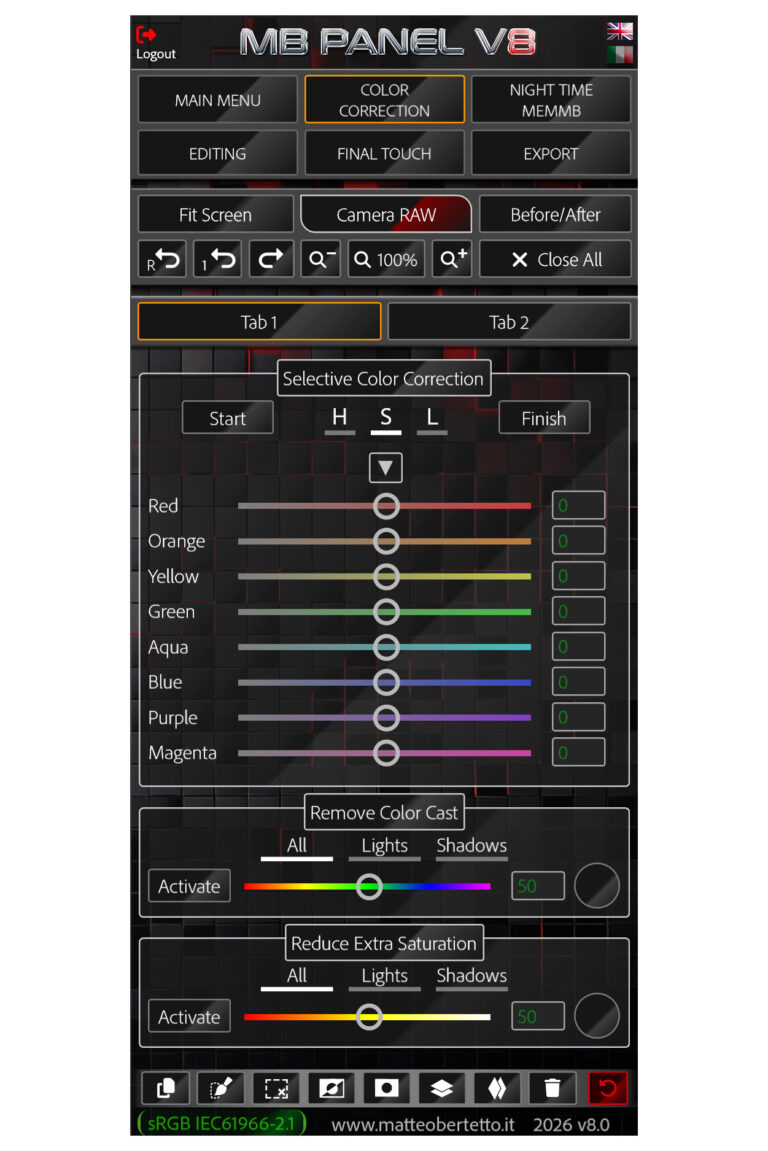
- Reduce Extra Saturation
- Selective Color Correction
- Dominants correction
- Pale Yellow correction
- Blue Haze correction
- Reduce Day Cold Lights
- Reduce Blue Hour
- Reduce Extra Saturation
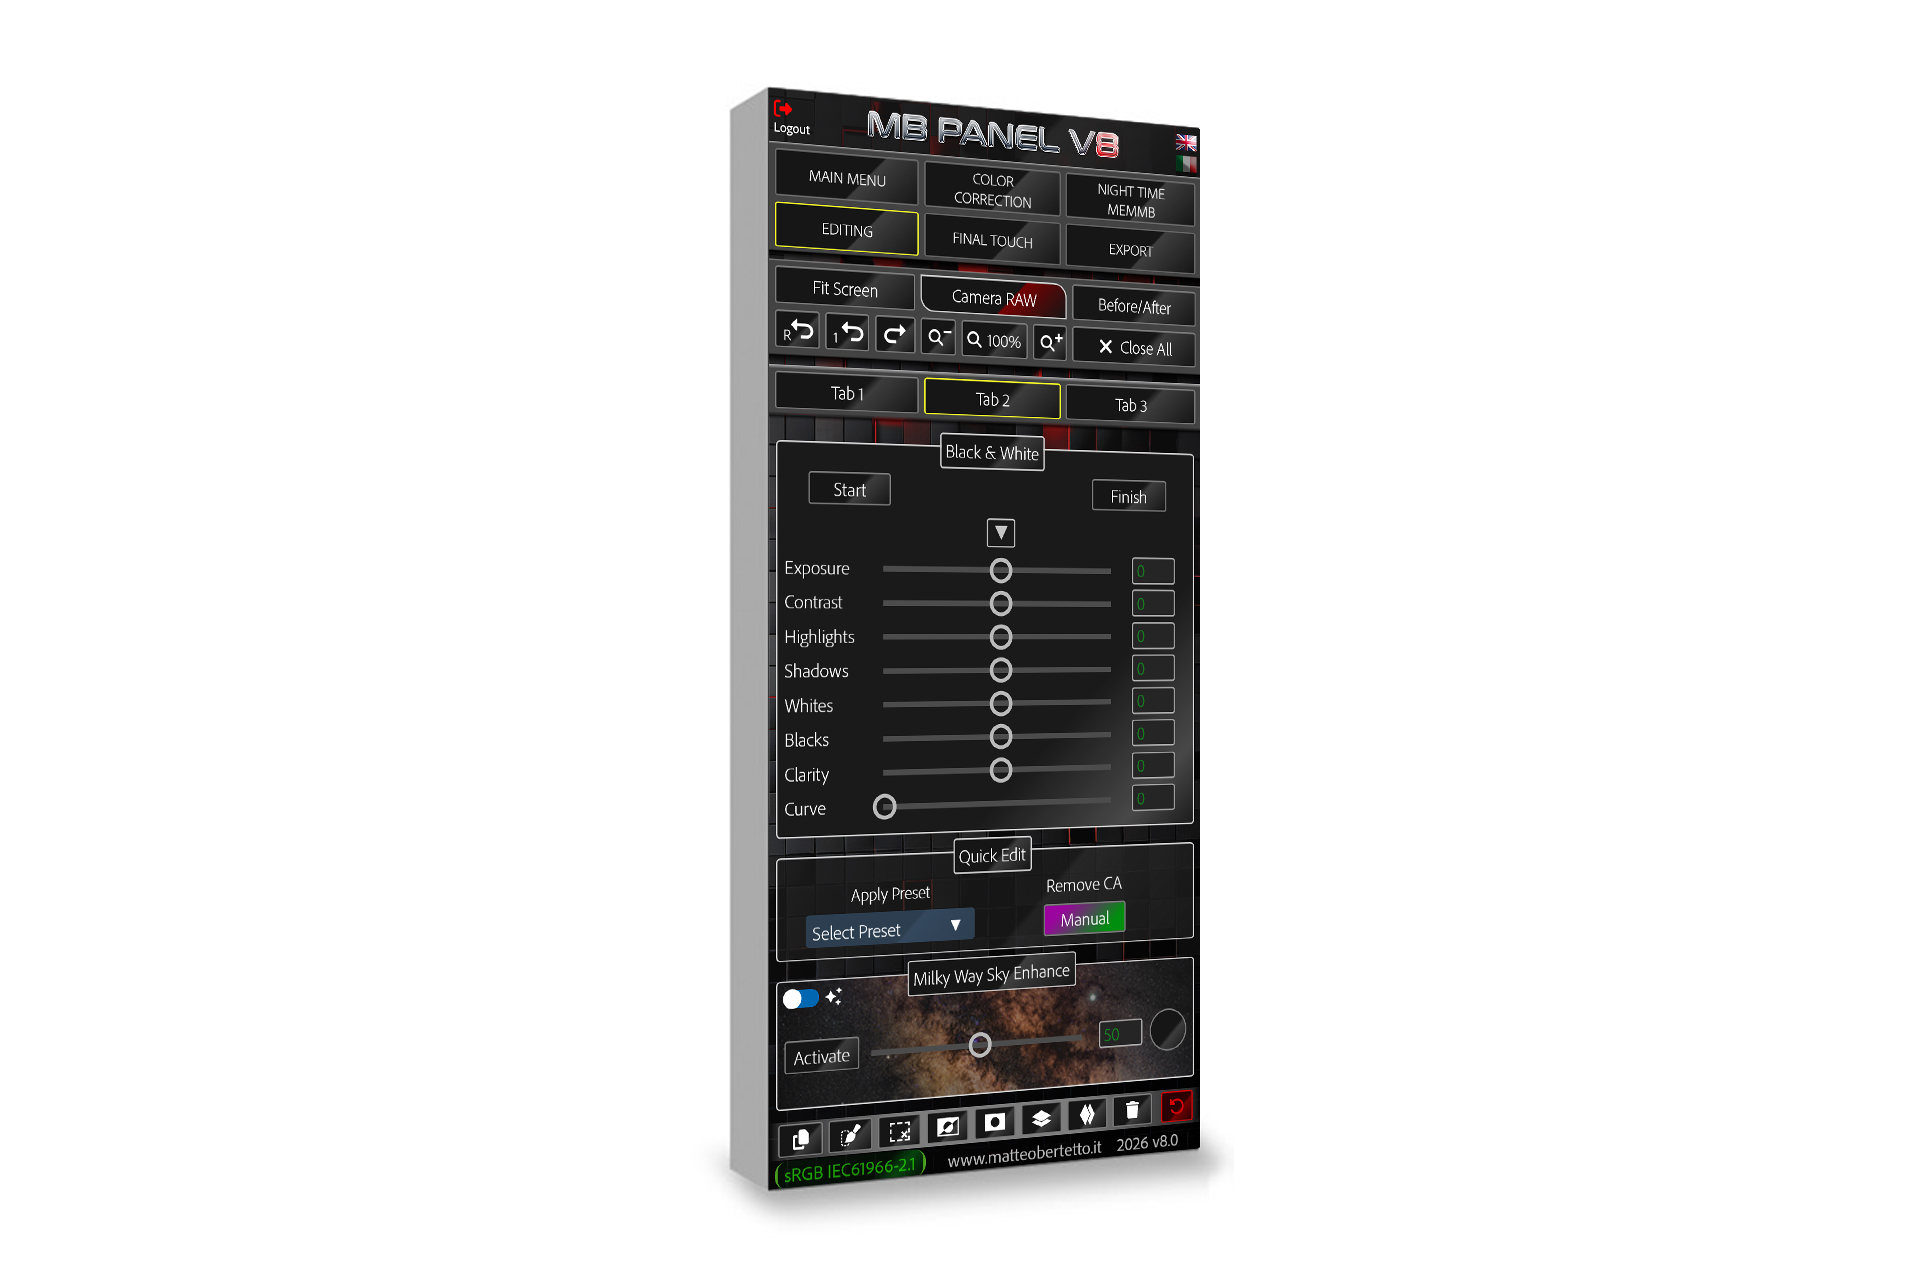
- Advanced Black & White
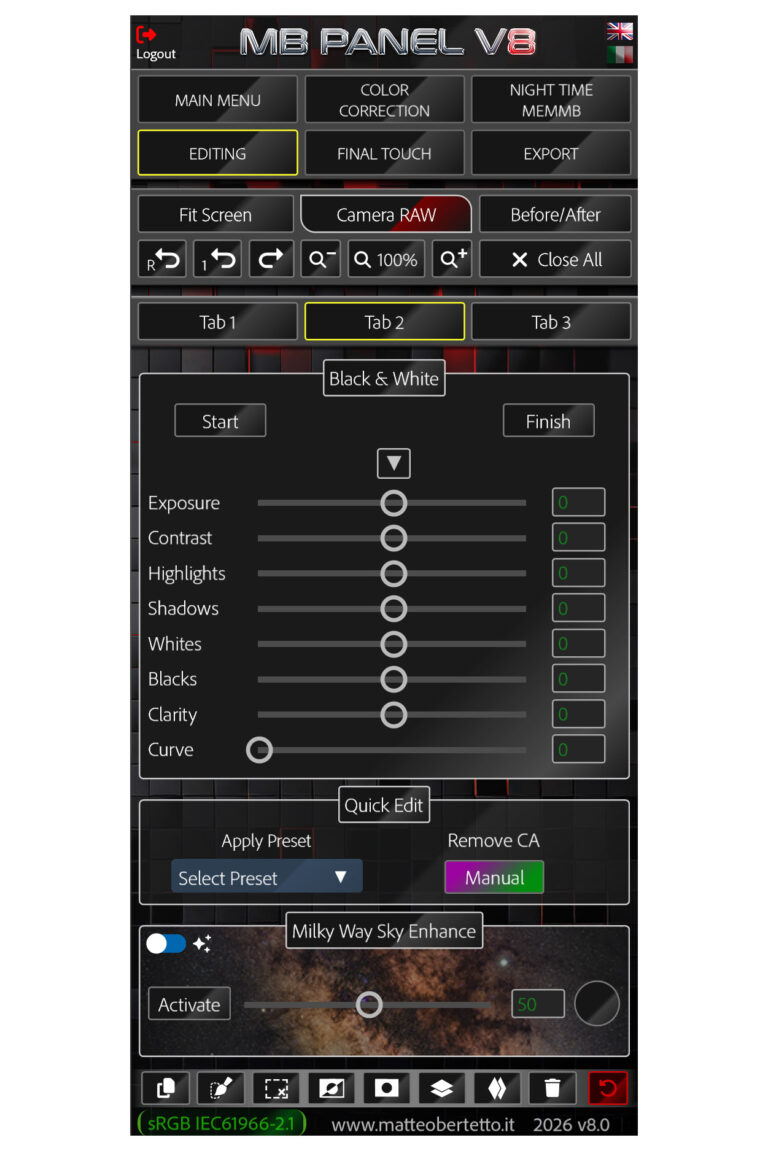
- Quick Edit
- Polarizer Effect
- Warm Tonality Filter
- Focus Stacking
- Highlights Recovery
- HSL color panel
- Selective Saturation Mask
- Tonemapping Preparation
- Section for recording actions
- Manual Resizing
- Quick buttons for MEMMB
- Green Lights Correction
- NISI Natural Night Filter Correction
- Stacking Noise Reduction
- Milky Way Sky Enhance
- Star-trails Merge
- Smooth Startrails and Smooth Traffic Trails
- Automatic Align Photos
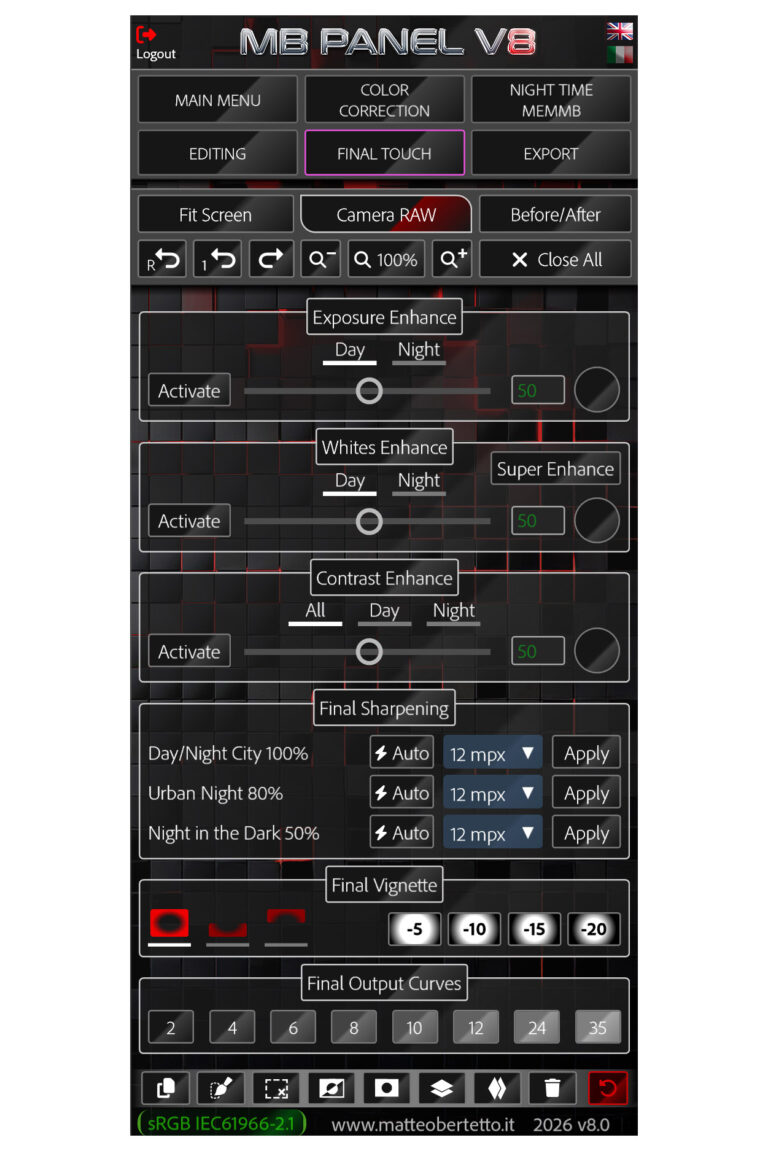
- Exposure Enhance
- Whites Enhance
- Contrast Enhance
- Auto Final Sharpening
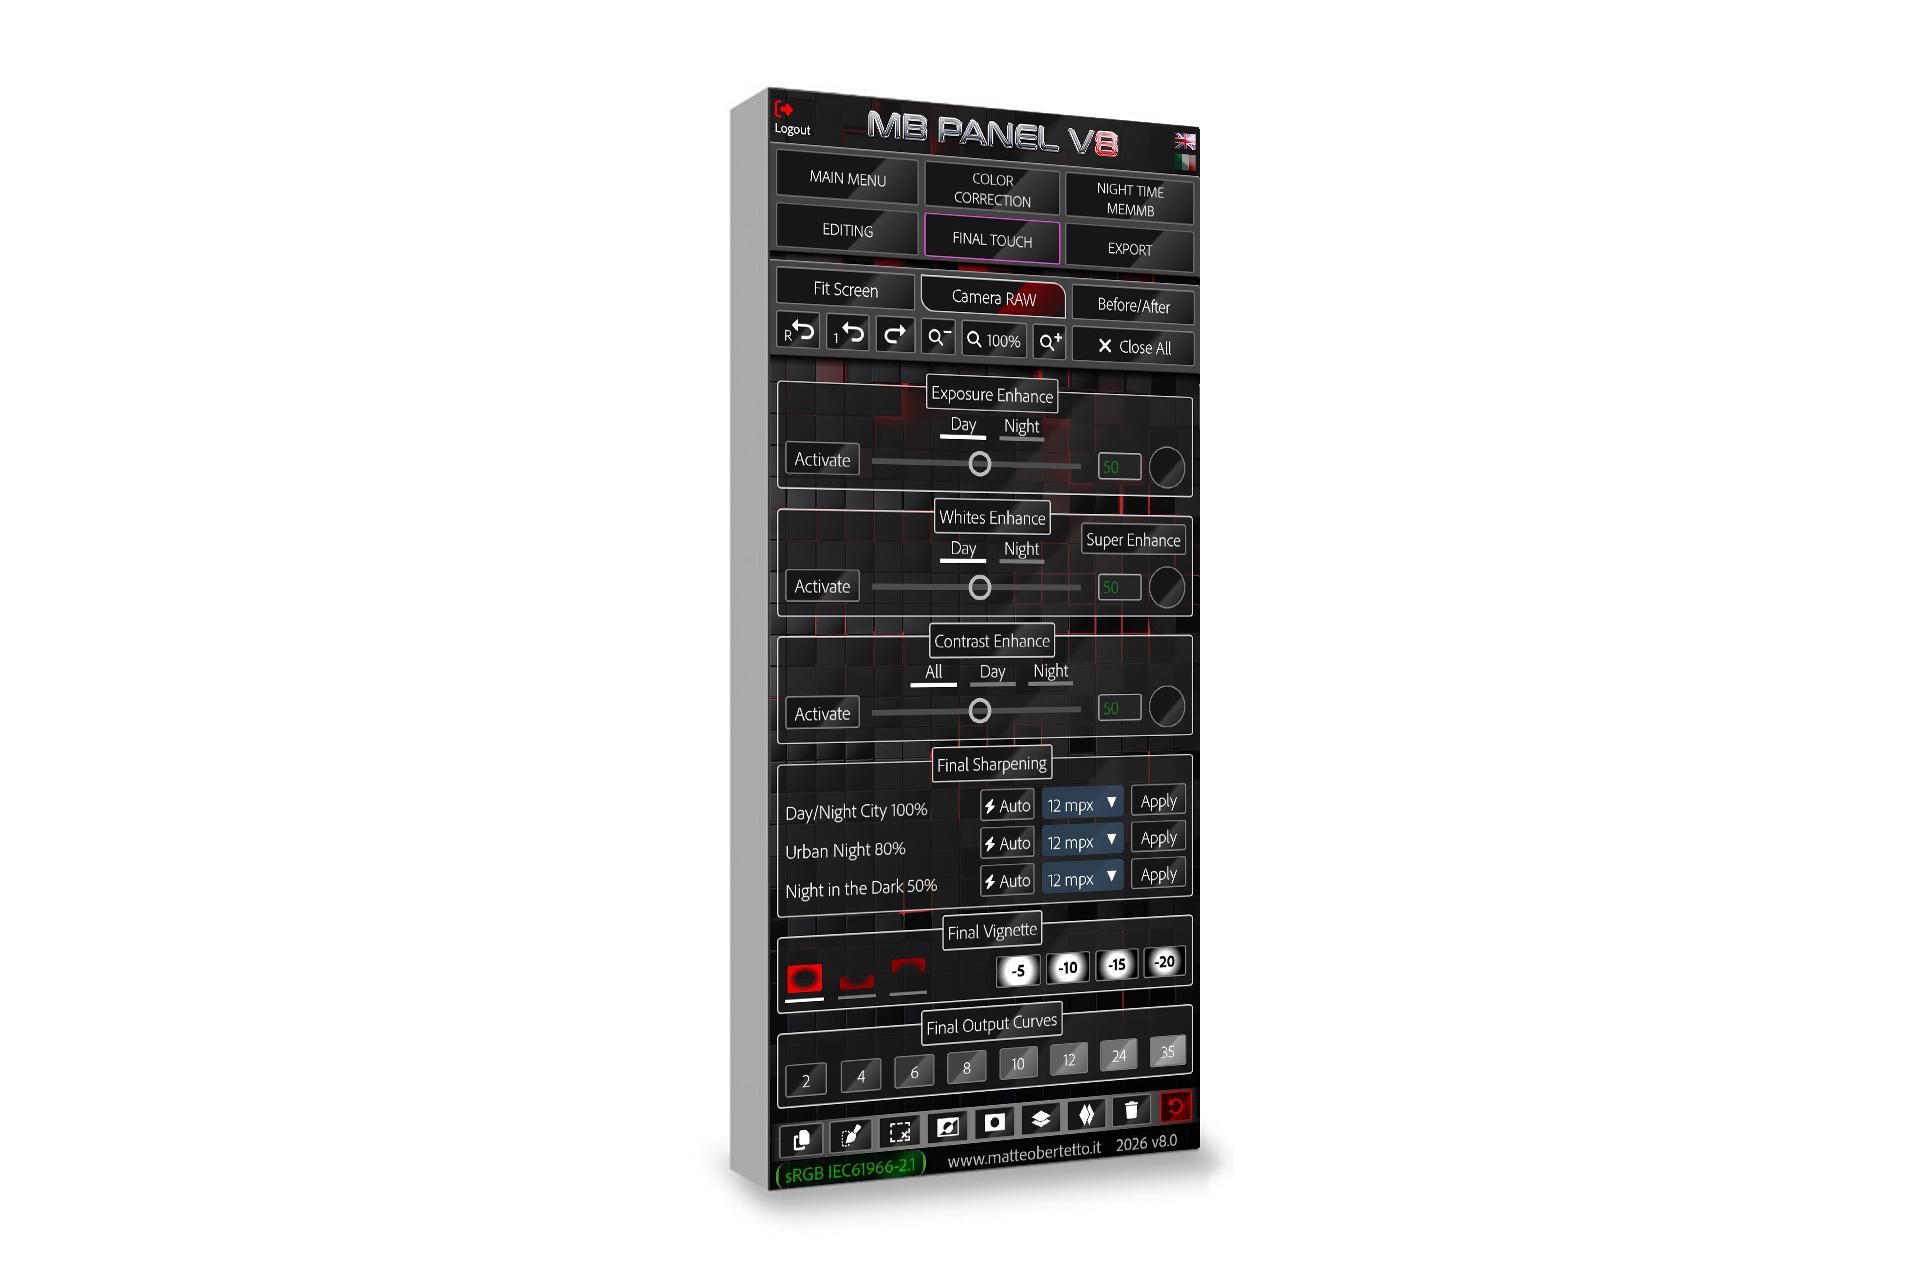
- Final Vignette
- Final Output Curves
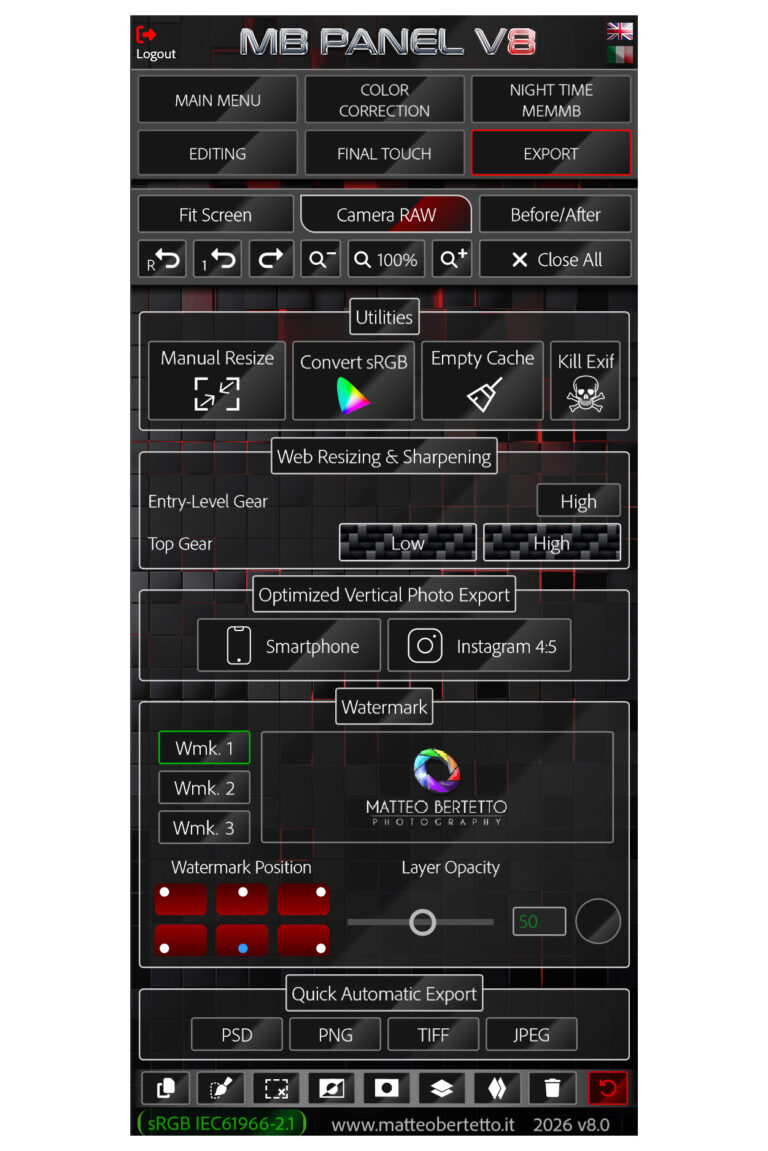
- Auto Convert in Srgb
- Empty Cache
- Kill Exif
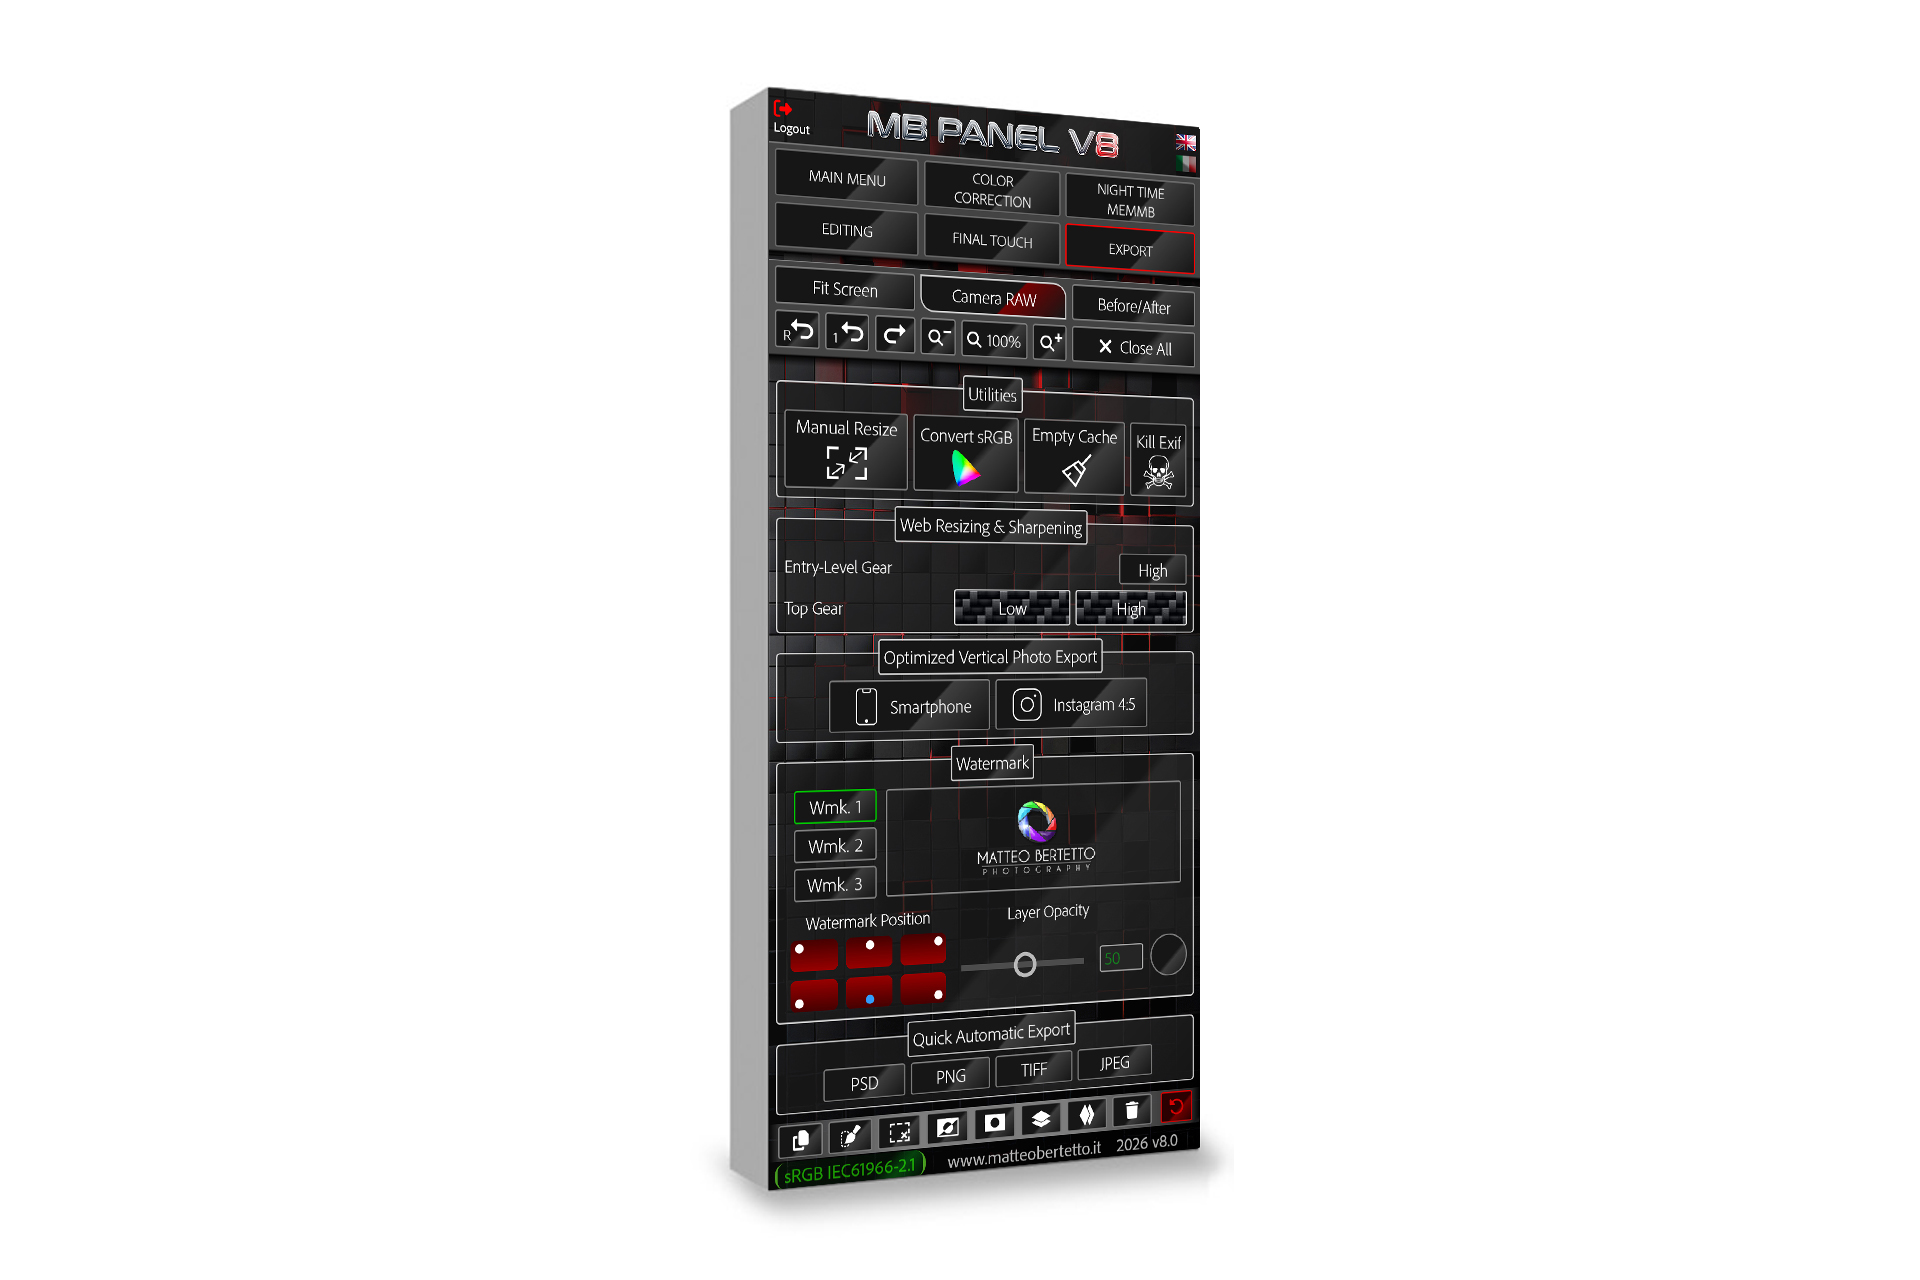
- Web Resizing
- Smartphone Resizing
- Instagram 4:5 Resizing
- Watermark or Logo Application
- Quick Automatic Export
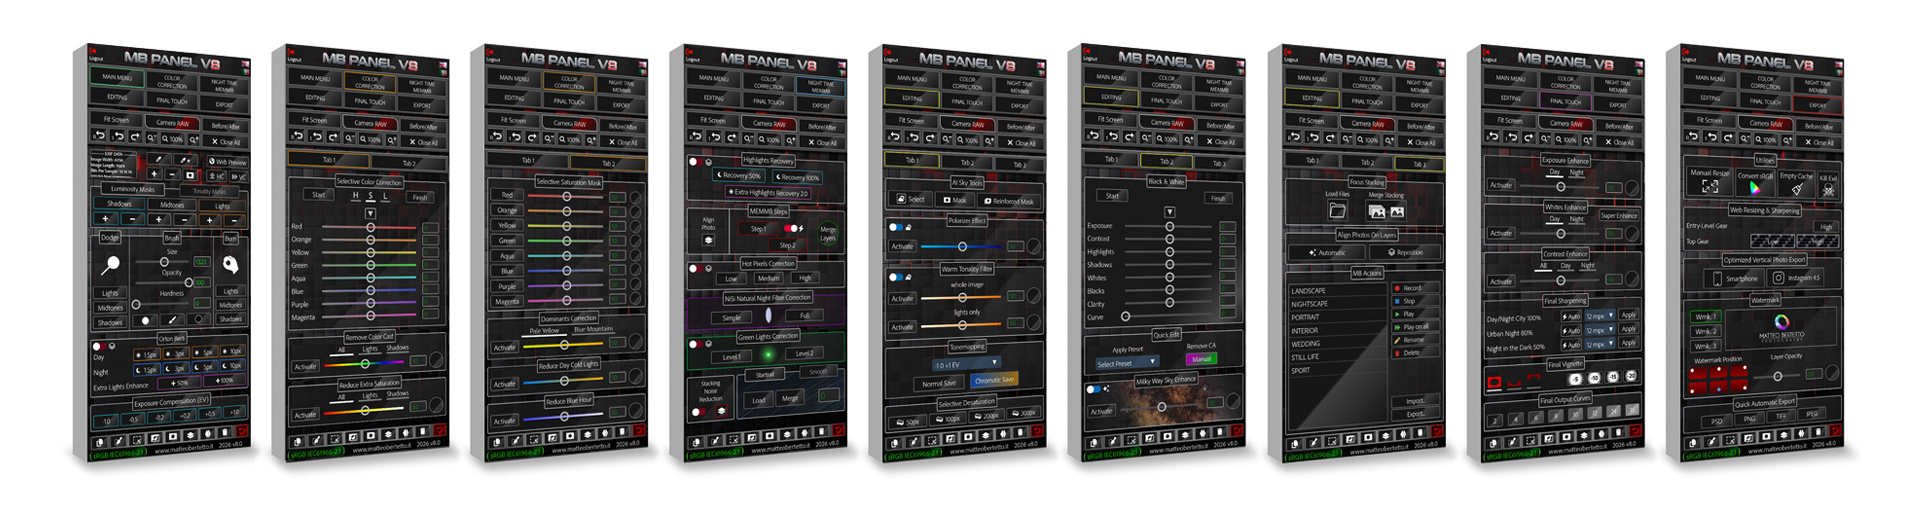
Here it is some examples, before/after and what the Panel can do
It is better if you look at these examples from your desktop monitor
Remove Color Cast
“Remove Color cast” is one function you could use sometimes and it could play a key role.
It will analyze the image and it will delete that color casts that are too intrusive and present in the image in comparison with others.
With the slider you can change the percentage and do a precise regulation.


Warm Tonality Filter
Do you know those images taken during the day with that cold light that is so ugly?
With this filter you can change your image, giving it a softer light.
You can use it during sunset to warm up lights a bit more.
You can decide the effect in real time by changing the percentage with the slider.
Remove Blue Haze
The “Blue Haze” button is a magic and essential function.
It automatically analyzes the image and selects the blue channel and it will reduce, only on those frequencies, not only the blue color but also that haze we can see very often on the horizon, in this way we get more contrast and three-dimensionality.
You can change the effect in percentage by moving the slider.

Reduce Day Cold Lights
When we are in a church or in any type of building and that damned cold light comes in from the window from the outside.
This very useful function works on that lights and brings them back to a more natural and warm tonality, as it is the indoor lighting.
So we can get a sense of overall balance and harmony.
Advanced Black & White
It would be so nice to change automatically our image in b&w in Photoshop, without using Camera Raw but using its power.
This is possible thanks to the function “Black and White” in the MB Panel V8.
It creates a smart object and you can regulate all the most important adjustments as you prefer with micrometric precision.

Whites Enhance
When you are just at the end of your editing and you want your image brighter. That’s the right time to use this button.
Thanks to an inverted luminosity mask, which will avoid the strongest lights, it enhances whites in all the rest of the photo.
You can decide in real time the effect in percentage by moving the slider.
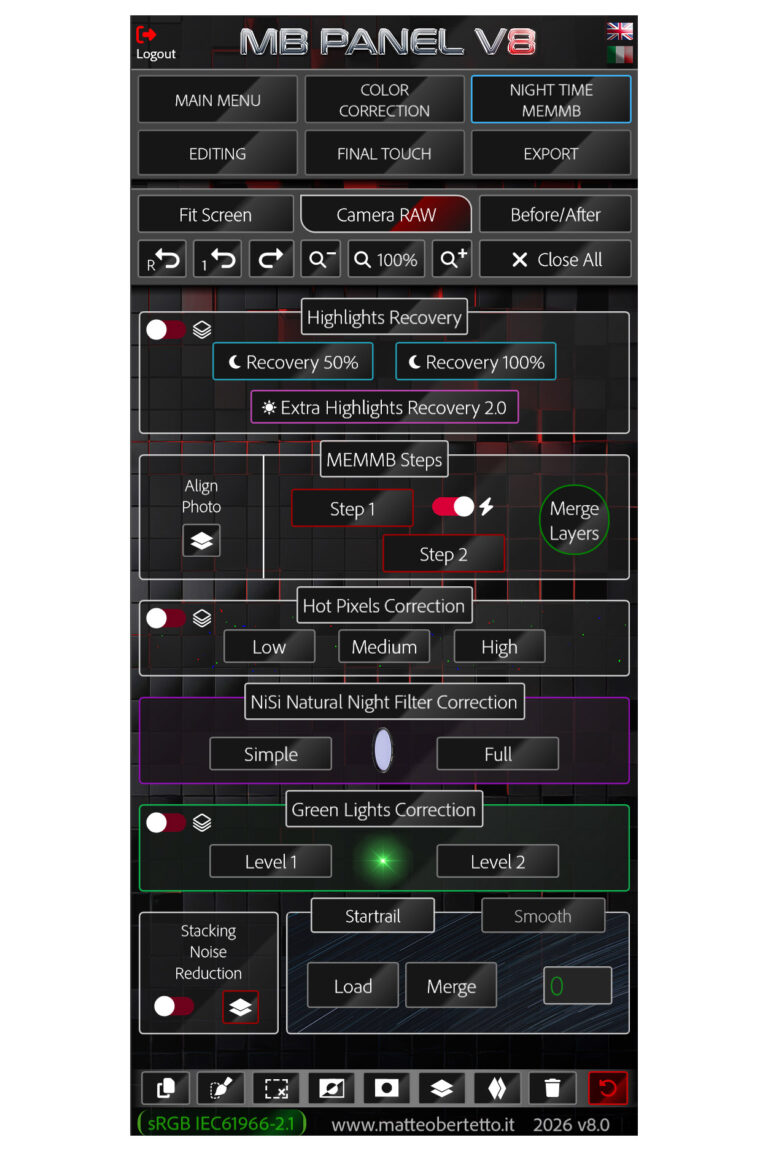
Star-Trails Merge
You can get all the most important functions to load and merge all the shots for a star-trails.
There is another button “Smooth” to soften up the trails.
The box bottom right, now bigger, shows you how many photos you are loading and big news in MB Panel V8, we have two different kinds of “Smooth”, one for Startrails and one for Traffic Trails.


Quick buttons for “MEMMB” technique
Some quick steps or better some shortcuts to save time in creating the luminosity masks for the Manual Multi Exposure Bertetto Technique.
You cannot learn how to shoot and how to merge the shots by reading the instructions but you need to do a private course on Google Meet.
Old students know perfectly how to use the buttons!
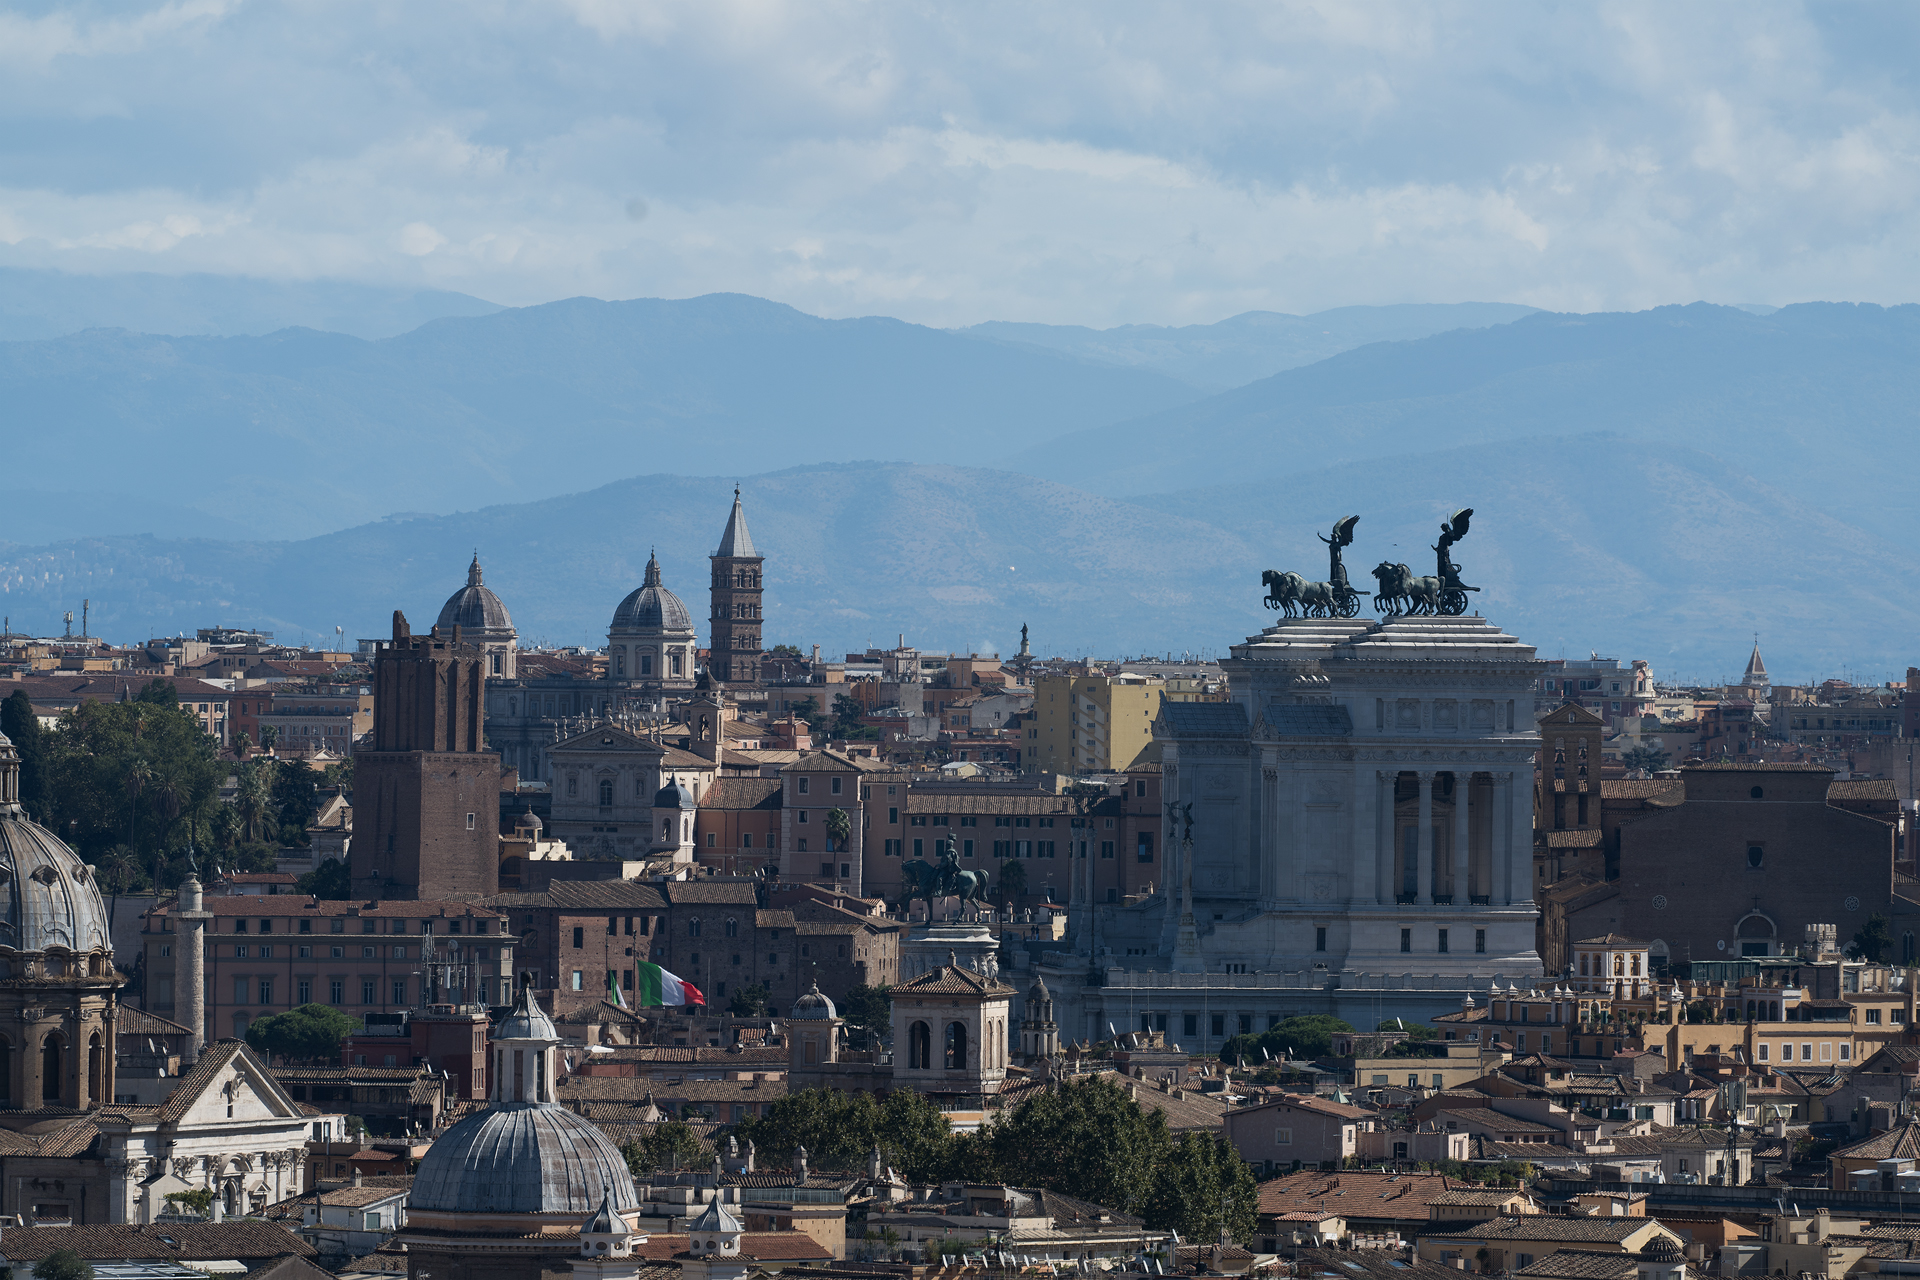
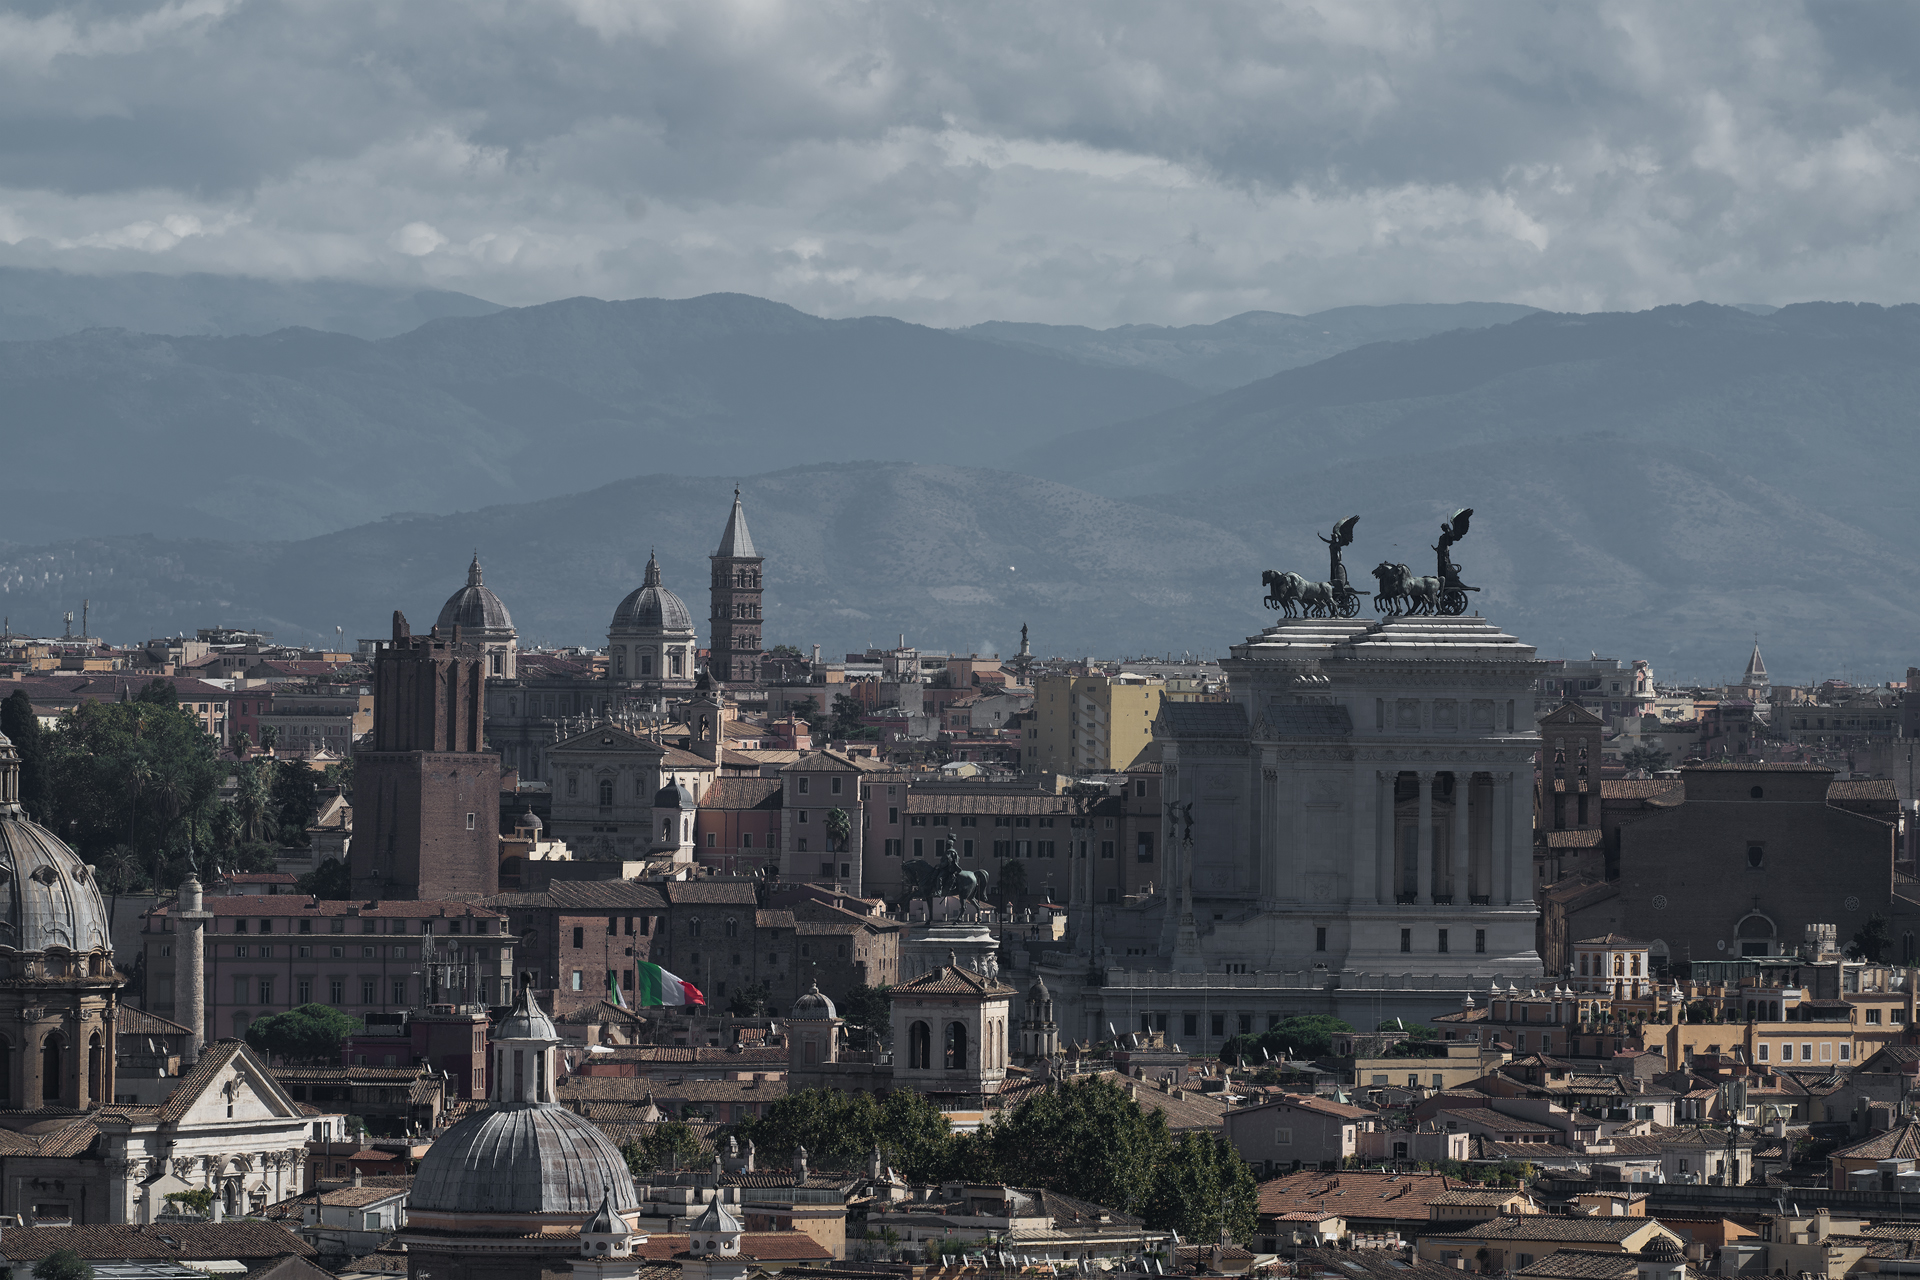
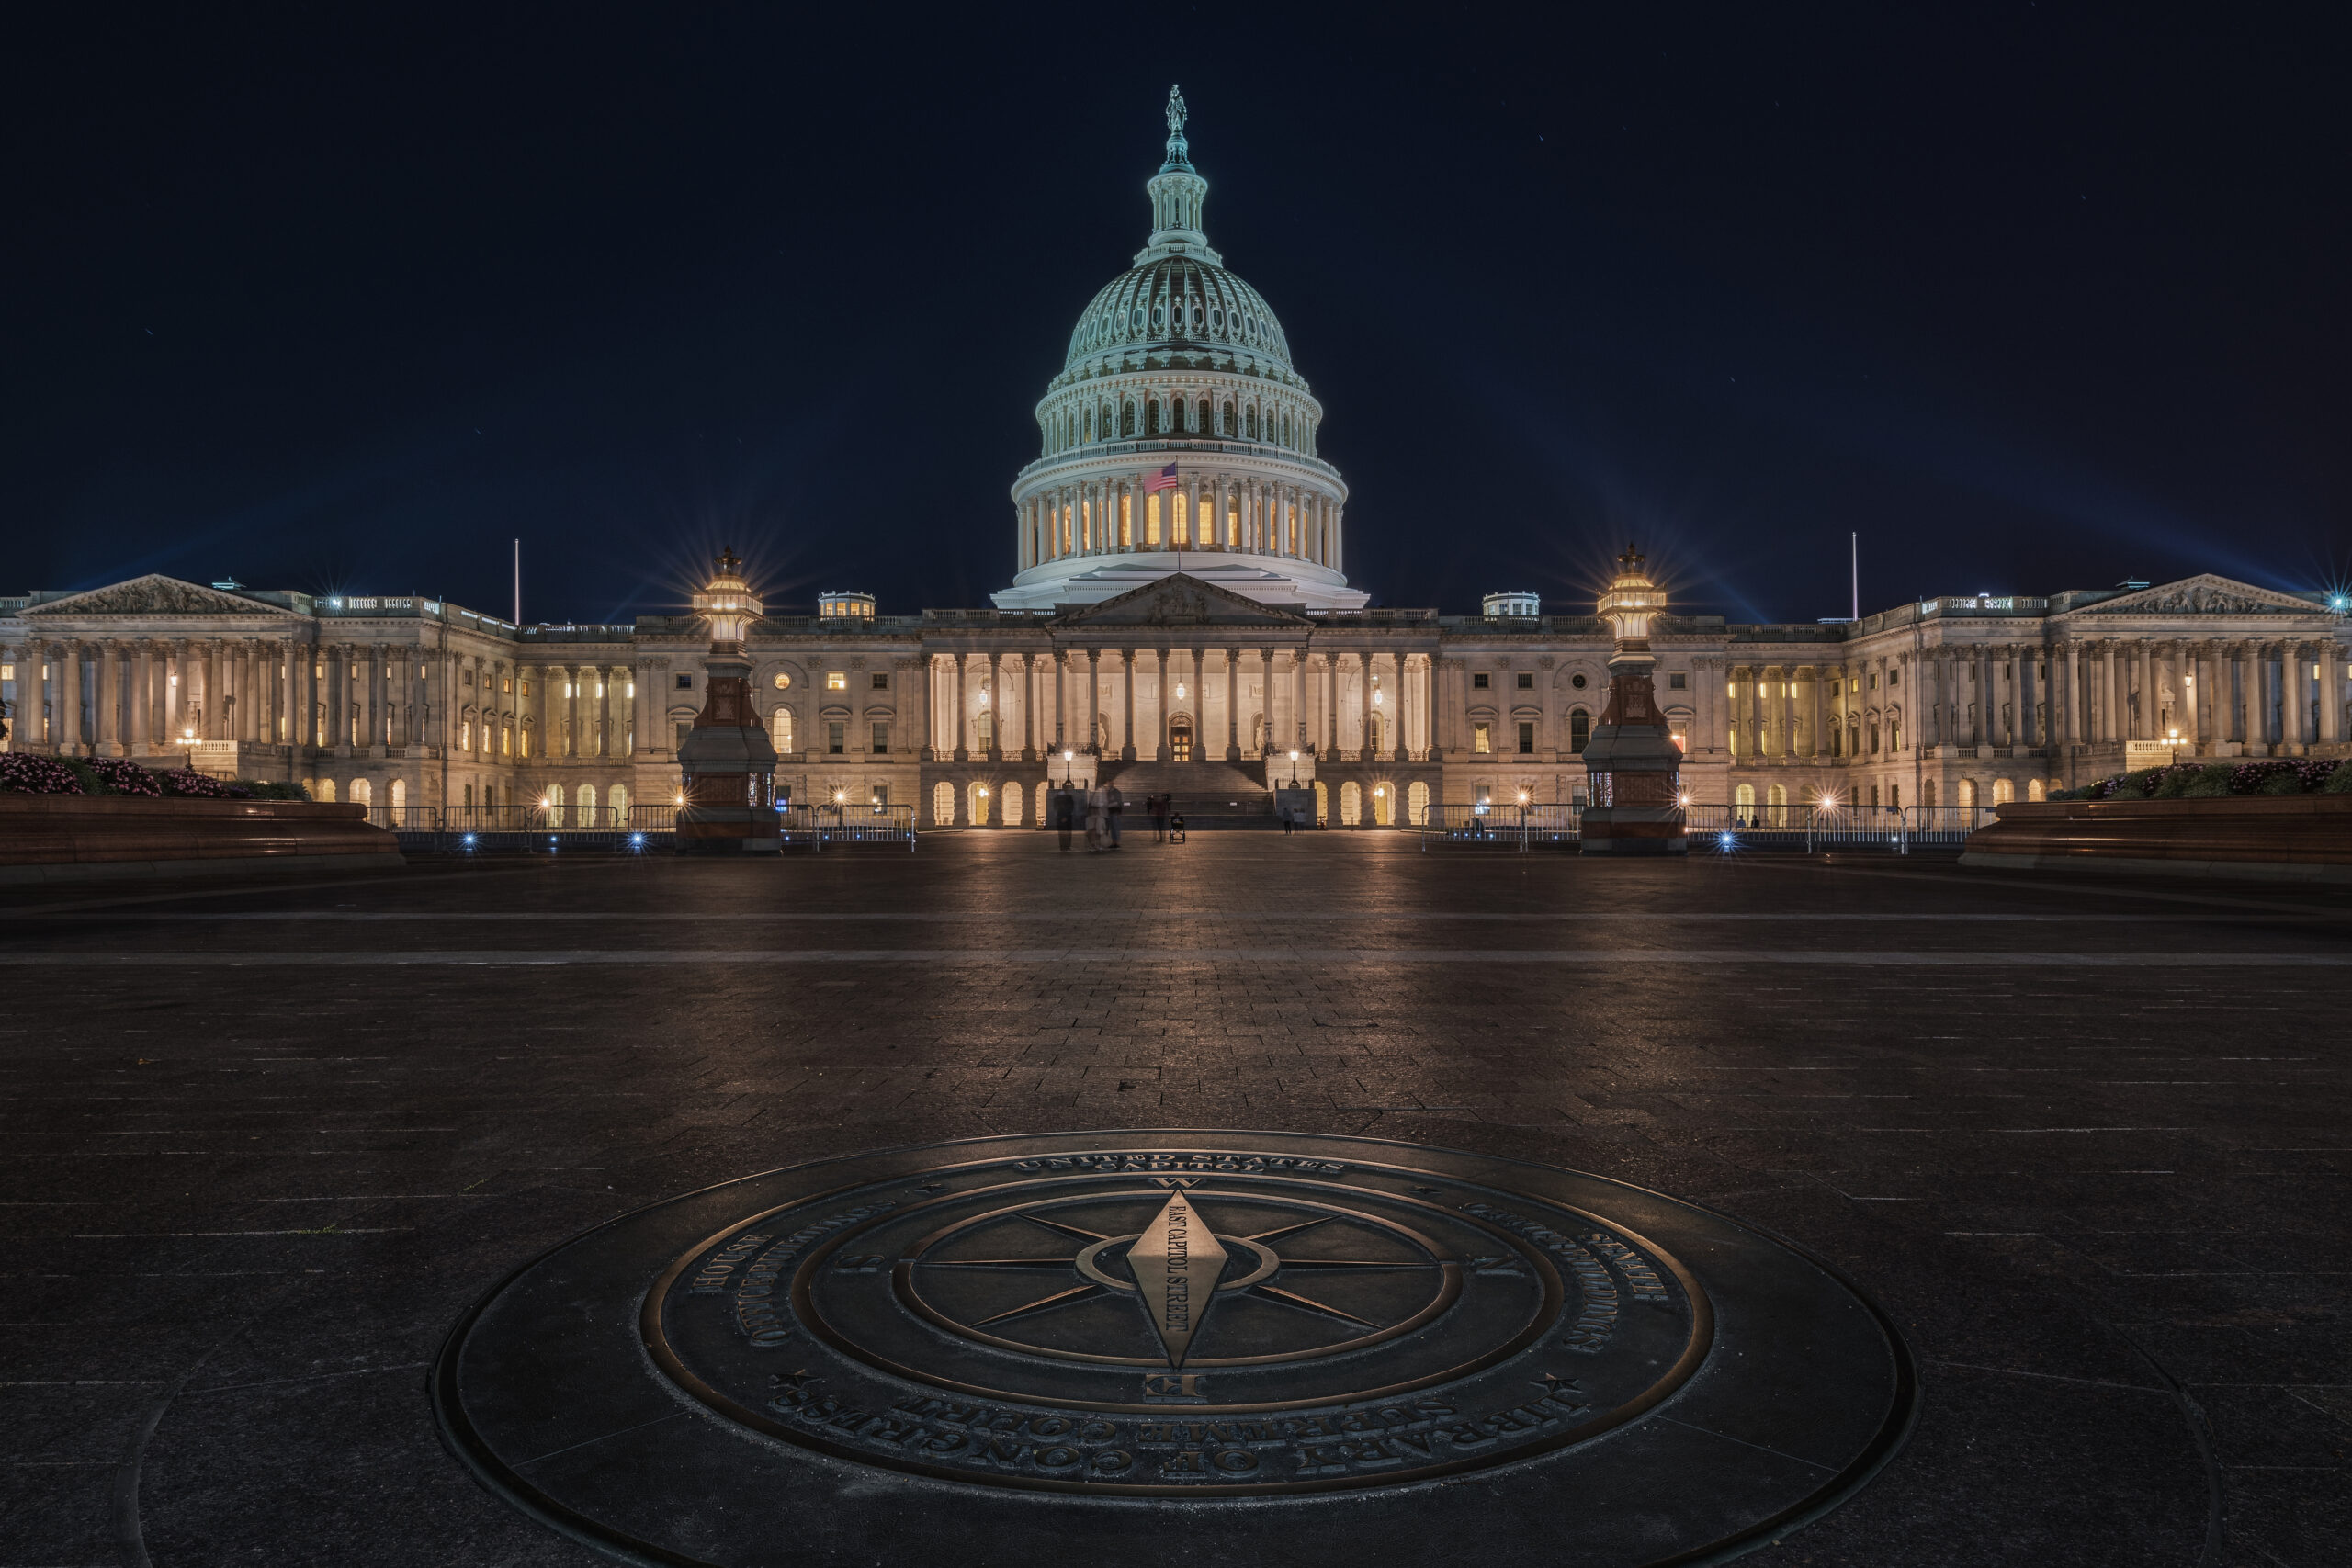
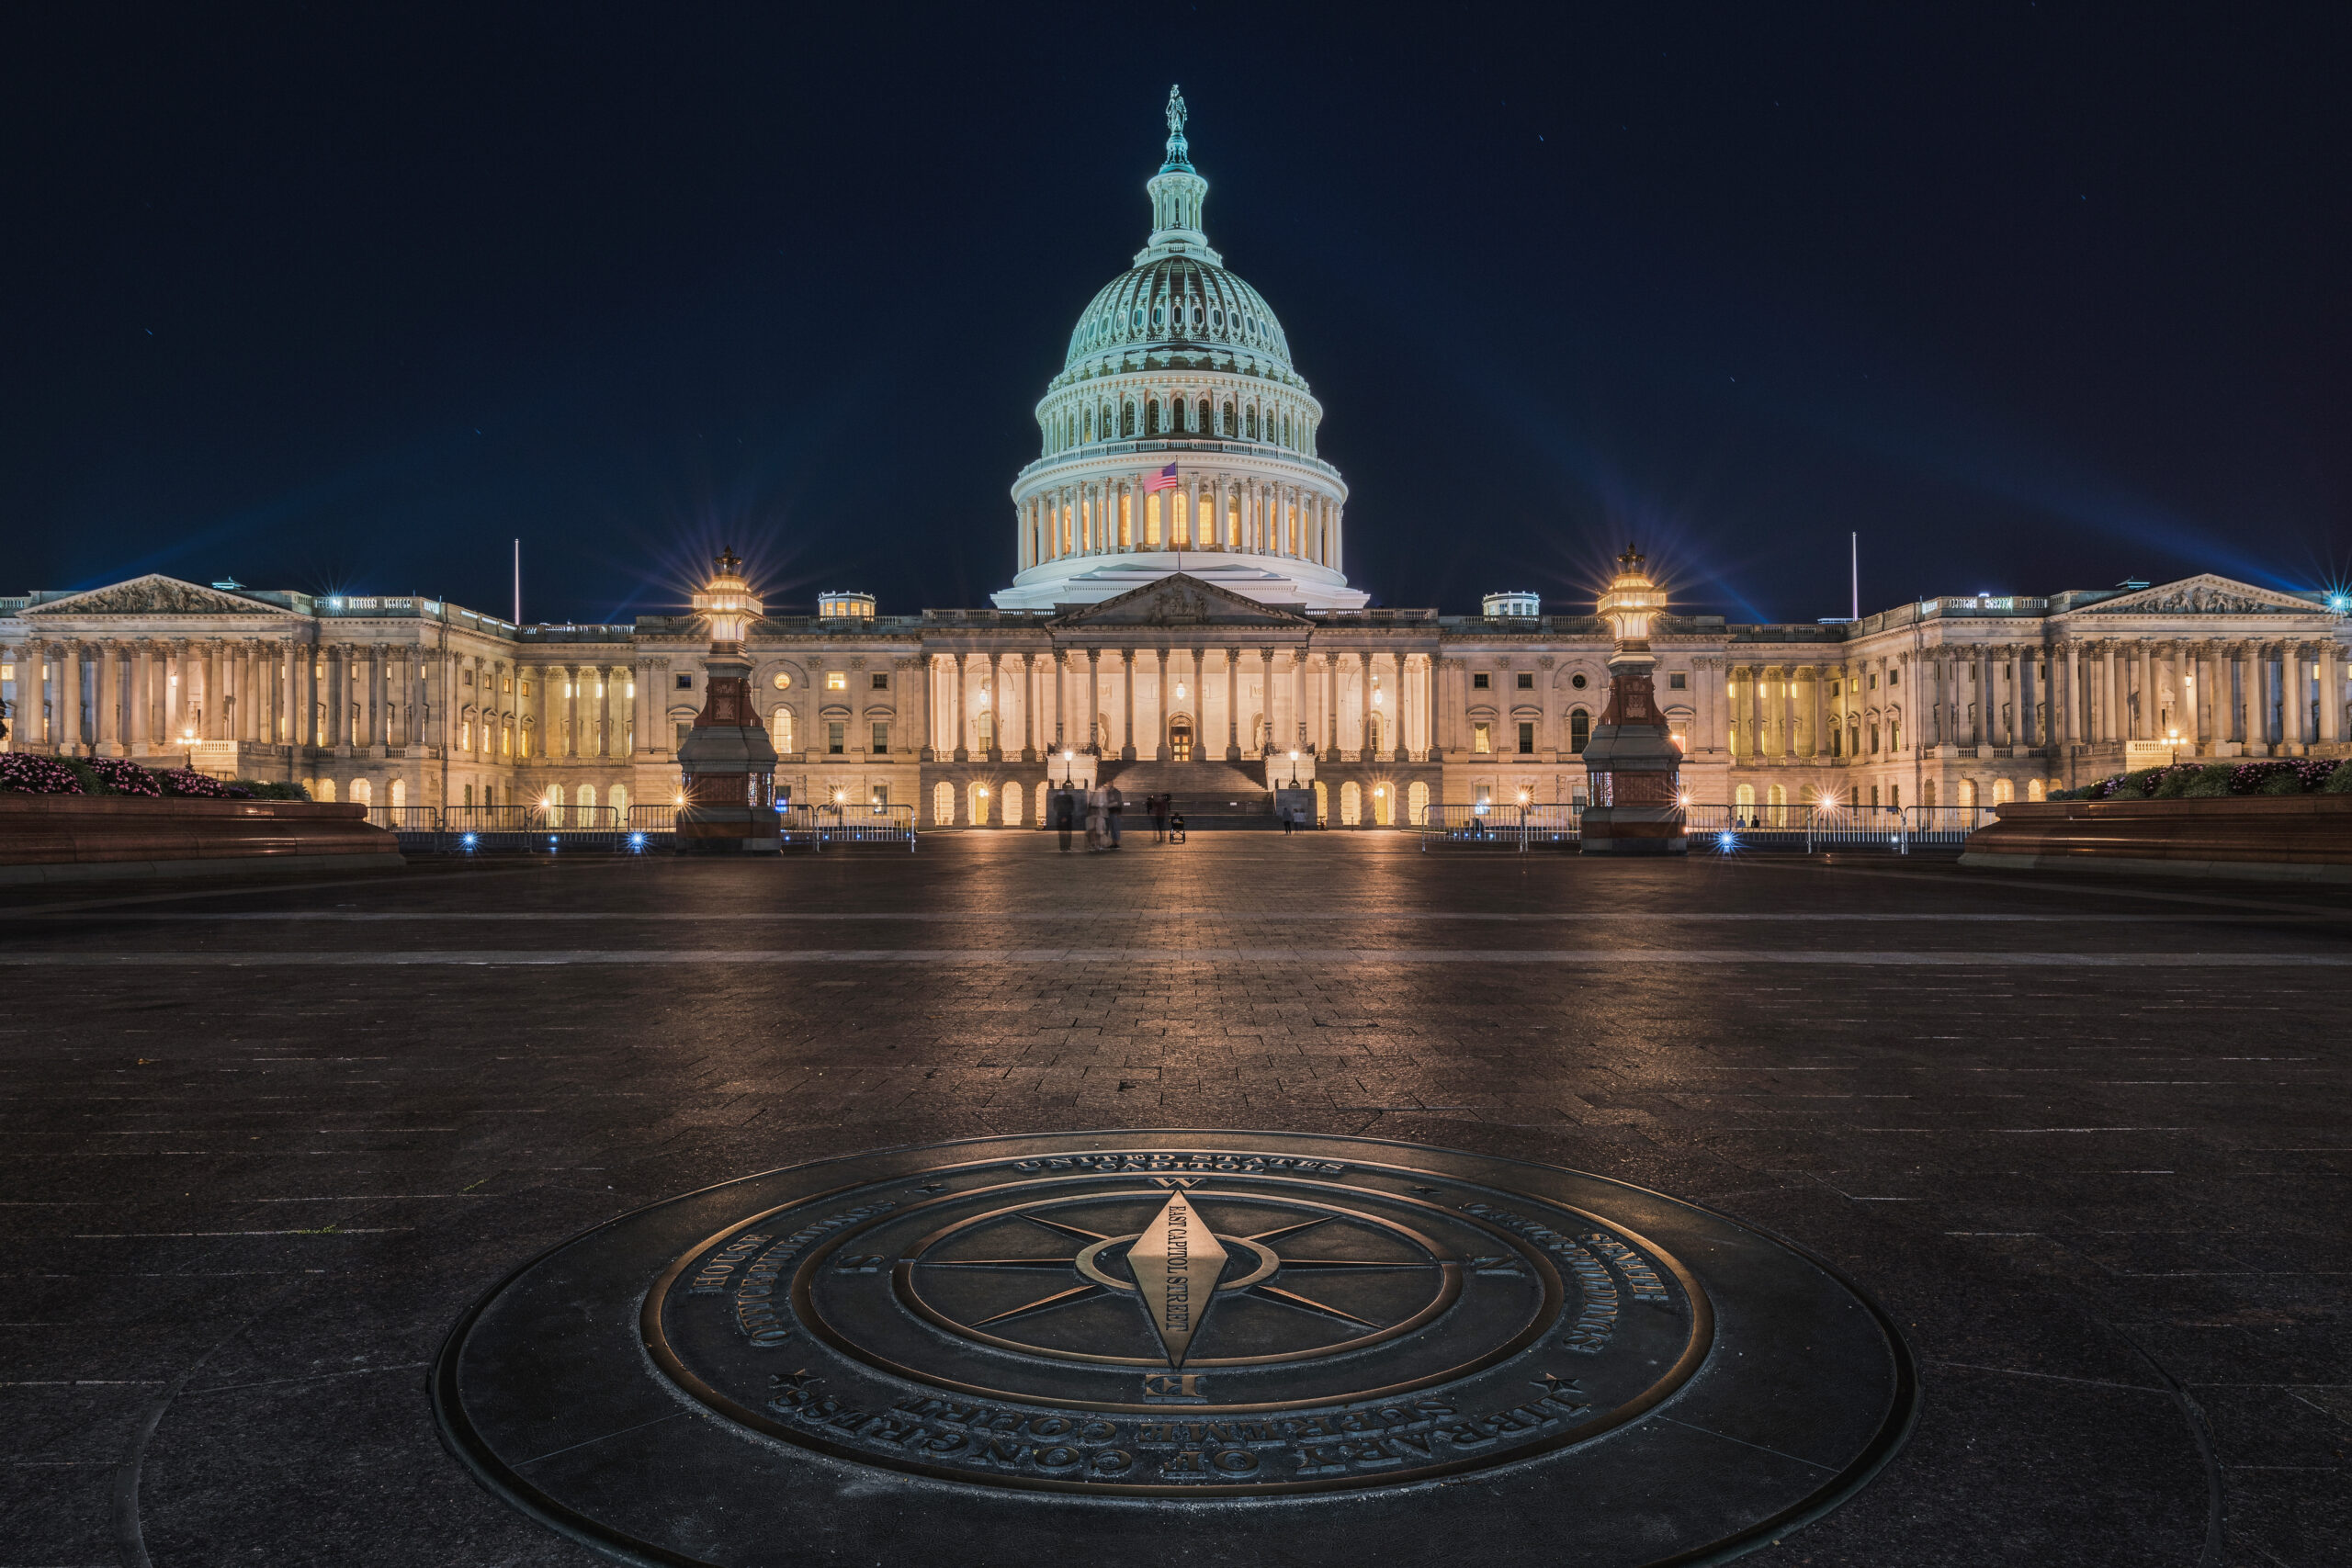
Automatic Align Levels
How often can that happen that during shooting time your tripod moves and once at home your photos are not aligned?
With this button Photoshop automatically aligns your photos.
During the day, it works perfectly at 100%, but during the nights it depends on the big difference between lights and shadows.
If the gap is too big (50-60ev), it might not be able to do it.
In cityscape, like this one, the result is guaranteed.


Berti Orton Effect and Extra Lights Enhance
All the landscape photographers, today in the digital world, use end personalize the Orton Effect, created by Michael Orton.
This is my personal version: two different effects, one for the day and one for the night, with two different visibility and intensity levels.
Then a small optional button, to give after lights, the “Extra Lights Enhance”.
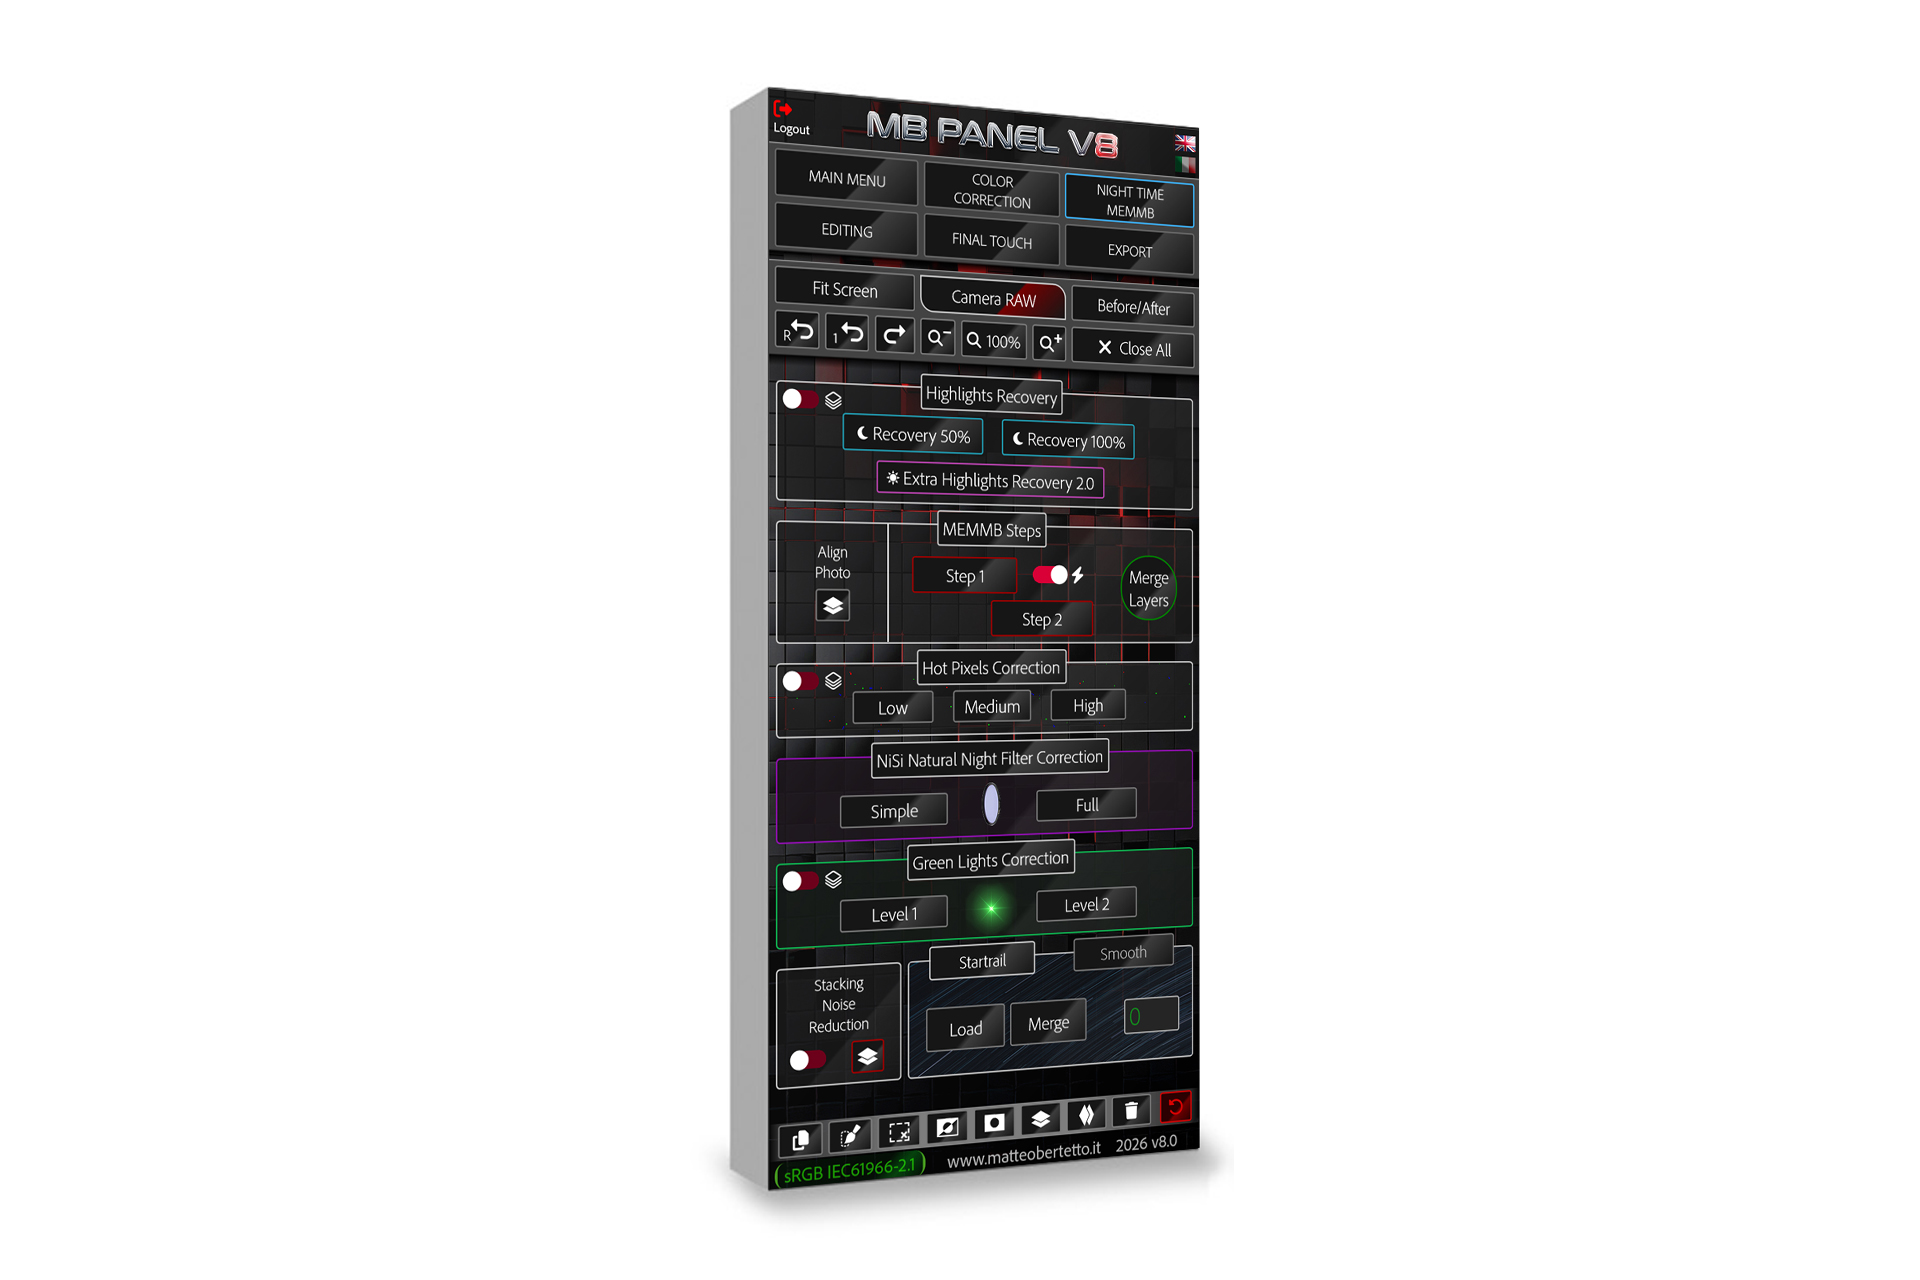
Nisi Natural Night Filter Correction
Quick two-button correction, simple and full, to correct the color cast of Nisi Natural Night Filter.
Those who use this filter, that is very useful to reduce the pollution and the night bright glow due to light pollution, know very well it has some violet/red dominant, it could be stronger or lighter, it depends on the different kind of lights we shot.


Green Lights Correction
During the night, we often get green/aqua lights.
They stay that way also if we do the right white balance.
Once done the white balance you can remove with the two buttons, Level 1 and Level 2, that green light and you can make a precise selection, too.
Dodge & Burn and Polarizer Effect
An already made “Dodge & Burn”, created by Matteo for landscape photography where you have to do the “dodge and burn” in a delicate and precise way, better if using quick selections.
The Polarizer Effect does not replace the Polarizer Filter but it only emphasizes the effect on the sky by creating a linear gradient and by darkening the blue color. In this way it emphasizes the three-dimensionality on the sky.
Now, thanks to AI, Artificial Intelligence, you can apply this effect only on the sky by using the button “Apply on Sky Only”.


Highlights Recovery
This function has been created for night shots but you can use it also during sunset and blue hour.
This function is very useful because it works only on the strong lights, reducing the glow and the intensity without creating halos as it can happen in Camera Raw by moving the highlights slider.
Final Output Curves
Your Final Output Curves ready with a button with different buttons to choose your favorite one.
This effect enhances the blacks and all the low frequencies, creating a beautiful soft patina, highly requested in landscape photography but above all in portrait photography, reportage and wedding photography.


Hot Pixel Correction
Hot pixels, those damned red, green and blue spots!!!
This problem is due to the overheating of our camera, when we shot in Bulb Mode with a shutter speed of 30 seconds or 2-3 minutes.
People who have Sony A7 III e A7r III will be so happy with this feature!
Final Sharpening
Matteo Final Sharpening is based on the Smart Sharpen in Photoshop.
After giving the sharpening in Camera Raw when you opened the file and after finishing the editing, here there is the final touch to give to your photo that perfect sharpening you are looking for.
Big news in MB Panel V8 it’s the automatic sharpening you can switch on by clicking on “Auto”.
Here it is an example of the Final Sharpening on a 61 mpx photo fully cropped (at 100%)


Automatic Web Resizing & Sharpening with Watermark and Logo
At the very end, before publishing your photo on the web, the software will automatically resize the photo, both vertical and horizontal, at 1920 long side, with a particular sharpening for the web.
If you want to add your watermark in PNG or your logo, you can do it quickly with a button, you have only to decide the opacity on the photo and the position.
FAQ – FAQ: Frequently Asked Questions
- Once the panel is purchased, will I be able to do the Manual Multi Exposure “MEMMB”?
- No, you can learn how to do the Manual Multi Exposure only during Matteo’s courses on Google Meet, “MEMMB” explanation is not included with the MB Panel V8.
- Is it compatible with MAC system and with Mac M1-M2-M3-M4 and M5?
- Yes, it works with all Mac versions. In a native way, without using Rosetta.
- Does the panel work on other programs in addition to Photoshop, for example on Lightroom or Capture One?
- No, MB Panel V8 is a plugin for Photoshop and it works only with this software..
- On how many computers at home or in office can I install MB Panel V8?
- On a maximum of 2 computers, if they are personal but you cannot slip it to friends who will get it in a totally illegal way.
- If I have already bought in the past MB Script V3 or MB Panel V4-V5-V6-V7, do I get any discount If I buy MB Panel V8?
- No, the discount is only for Academy members or for Matteo’s former students, only for people who did his courses on Skype, on Google Meet.
- Once MB Panel V8 is purchased, can I get it immediately and how?
- Once the payment has been done, you can find the 2 files, the instructions and all the video tutorials here on the website and on your personal account in the section download.
- How can I install the new panel, is it difficult?
- It is enough to double click on the installation file and Creative Cloud will do all automatically.
- Ok, I have installed it but when I open Photoshop I can’t see it.
- To see it, you have to click on Plug-in – MB Panel V8


Reviews
There are no reviews yet.